
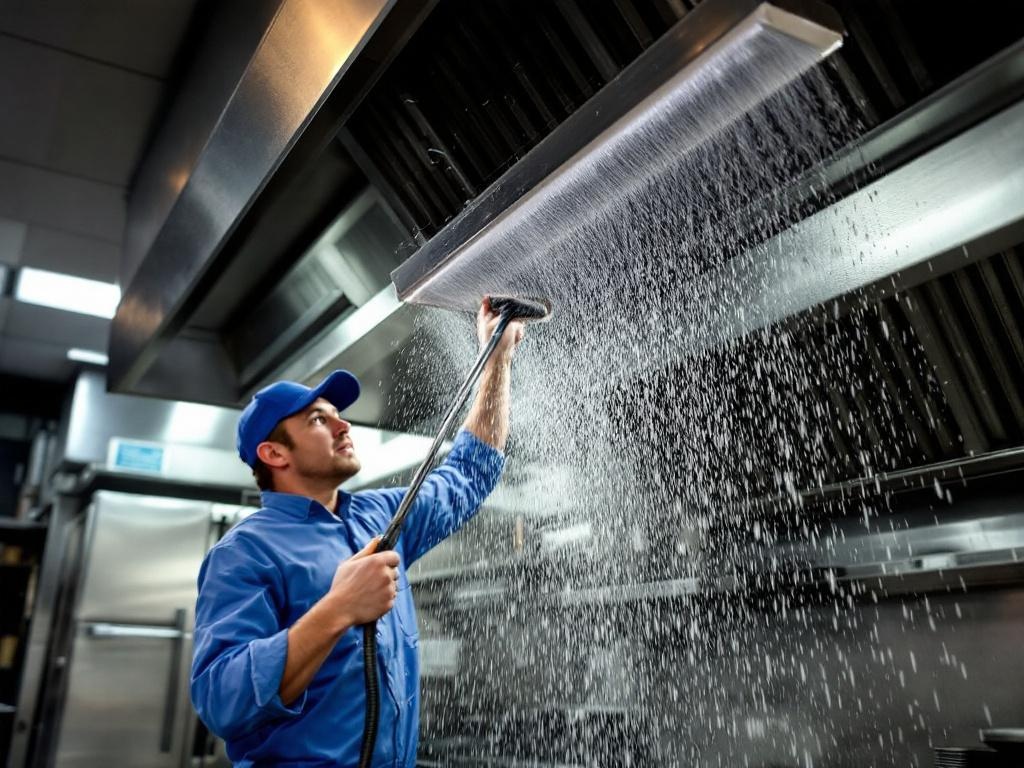
Cleaning your kitchen hood is not only essential for maintaining a clean and healthy environment in your home, but it also prevents potential fire hazards. This guide will walk you through a detailed, practical DIY approach to hood cleaning.
Why You Need to Clean Your Hood Regularly
The kitchen hood, also known as the range hood, works tirelessly to remove smoke, grease, and odors from your kitchen. Over time, it collects a significant amount of grease and grime, which can clog the filters and affect its functionality. If left unattended, it can become a fire hazard. Regular cleaning ensures optimal performance and longevity of your kitchen hood.
Estimated Time, Cost and Tools Needed
The time and cost required for hood cleaning largely depend on how often it is cleaned and the extent of the grease and grime build-up. On average, you will need about 2-3 hours and some inexpensive cleaning supplies.
Tools Needed for Hood Cleaning
- Grease-cutting dish soap or a degreaser
- Non-abrasive scrub brush
- Baking soda
- Vinegar
- Spray bottle
- Microfiber cloths or paper towels
- Bucket or large bowl
Step-by-Step Guide to Hood Cleaning
Now that you have the necessary tools, let's move on to the actual cleaning process. Please note, before you start, ensure the hood and stovetop are cool to avoid any accidents.
Step 1: Remove the Filters
Most kitchen hoods have removable filters. To begin, remove these filters. They are usually held in place by clips or latches, which can be easily unclipped. Check your hood's manual if you're not sure how to remove them.
Step 2: Soak the Filters
Degreasing the filters is a crucial step in hood cleaning. Fill a bucket or large bowl with warm water and add a generous amount of grease-cutting dish soap or a degreaser. Immerse the filters in this solution and let them soak for about 15-20 minutes.
Step 3: Scrub the Filters
After soaking, scrub the filters gently using a non-abrasive scrub brush. This will help remove any stubborn grease or grime stuck in the filter's mesh. Rinse them thoroughly with warm water and let them dry completely before reinstallation.
Step 4: Clean the Hood
While the filters are drying, move on to cleaning the hood. Make a cleaning solution by combining equal parts vinegar and baking soda in a spray bottle. Spray this mixture on the hood and let it sit for a few minutes. Then, wipe it down with a microfiber cloth or paper towel. Repeat the process until the hood is clean.
Step 5: Reinstall the Filters
Once the filters are completely dry, reinstall them back into the hood. Ensure they are properly secured to prevent them from falling or rattling during operation.
Safety Tips and Precautions
Cleaning your kitchen hood is a straightforward process, but it involves dealing with grease and grime, which can be slippery and messy. Here are some safety tips and precautions to ensure a safe and effective cleaning process:
- Always ensure the hood and stovetop are cool before starting the cleaning process.
- Never use abrasive cleaners or tools as they can scratch and damage the hood.
- Always wear gloves to protect your hands from the harsh cleaning solutions.
- Ensure the area is well-ventilated when using a degreaser or any strong cleaning solution.
- Make sure the filters are completely dry before reinstalling them to prevent electrical issues.
Conclusion
Cleaning your kitchen hood is an essential part of home maintenance that should not be overlooked. Regular cleaning not only improves the functionality and longevity of your hood but also prevents potential fire hazards. By following this comprehensive guide, you can ensure your kitchen remains clean, safe, and healthy.
For more information on hood cleaning and maintenance, consider checking out the Environmental Protection Agency's guidelines on range hood installation and efficiency.