
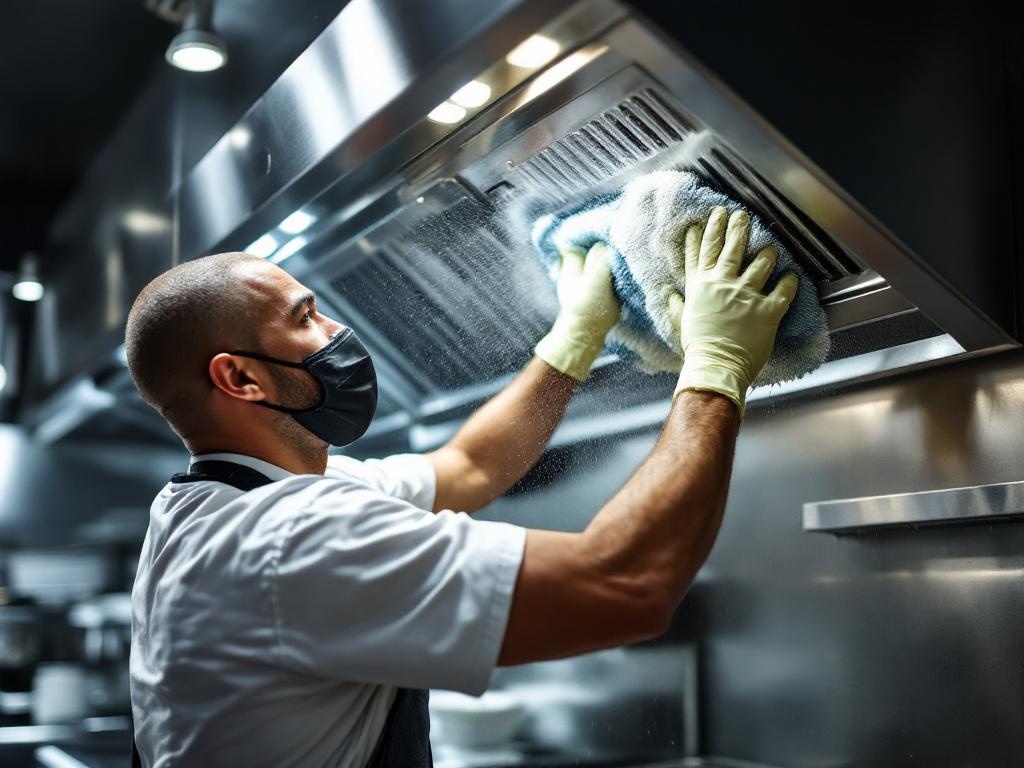
Kitchen hoods, also known as range hoods, play a significant role in keeping your kitchen clean and ensuring a healthy cooking environment. They are designed to remove odors, heat, and airborne grease while you cook. However, over time, they can accumulate grease and grime, which can affect their efficiency. This comprehensive guide will take you through a detailed, step-by-step process of cleaning your kitchen hood yourself.
Tools You Will Need
- Grease-cutting dish soap
- Warm water
- Non-abrasive scrub brush
- Microfiber cloth or paper towels
- A pair of rubber gloves
- Baking soda (optional)
- Vinegar (optional)
Note: Always choose a non-abrasive scrub brush to avoid scratching the surface of your hood.
The Cleaning Process
Step 1: Preliminary Preparation
Before starting the cleaning process, ensure that the kitchen hood is turned off and unplugged from the power source. Remove any filters and other detachable parts.
Step 2: Soaking the Filters
Place the filters in a basin of warm water mixed with a few drops of grease-cutting dish soap. Allow them to soak for about 15 minutes.
Step 3: Scrubbing the Filters
After soaking, use the scrub brush to gently scrub each side of the filters. Pay extra attention to areas with heavy grease buildup.
Step 4: Cleaning the Hood
While the filters are soaking, you can start cleaning the hood. Apply a mixture of warm water and dish soap to the surface of the hood and scrub gently. For stubborn stains, a paste of baking soda and water can be used.
Step 5: Rinsing and Drying
Once you have scrubbed the filters and the hood, rinse them thoroughly under warm running water. Make sure to remove all soap residues. Afterwards, dry them completely using a soft cloth or paper towel.
Step 6: Reassembling the Hood
After everything is clean and dry, reassemble the hood and plug it back into the power source.
Estimated Time and Costs
The entire process should take about 2-3 hours, depending on the level of dirt or grease buildup. The cost is minimal as most of the cleaning materials are readily available household items.
Safety Tips
- Always wear rubber gloves to protect your hands from the grease and grime.
- Make sure the hood is unplugged before you start cleaning.
- Do not use abrasive cleaning materials that can scratch or damage the surface of your hood.
- Ensure your kitchen is well-ventilated during the cleaning process to avoid inhaling the fumes from the cleaning products.
Importance of Regular Hood Cleaning
Regular cleaning of your kitchen hood is not just about maintaining its appearance, but it also contributes to its efficiency and longevity. A clean hood operates more efficiently, providing a cleaner, healthier cooking environment. Moreover, it prevents the buildup of grease, which can be a potential fire hazard.
According to the National Fire Protection Association, failure to clean cooking equipment, including kitchen hoods, was the leading cause of non-confined restaurant fires from 2010-2014.
Conclusion
Cleaning your kitchen hood may seem like a daunting task, but with this guide, you should be able to do it efficiently and safely. Remember, a clean kitchen hood is essential for a healthy and safe cooking environment.