
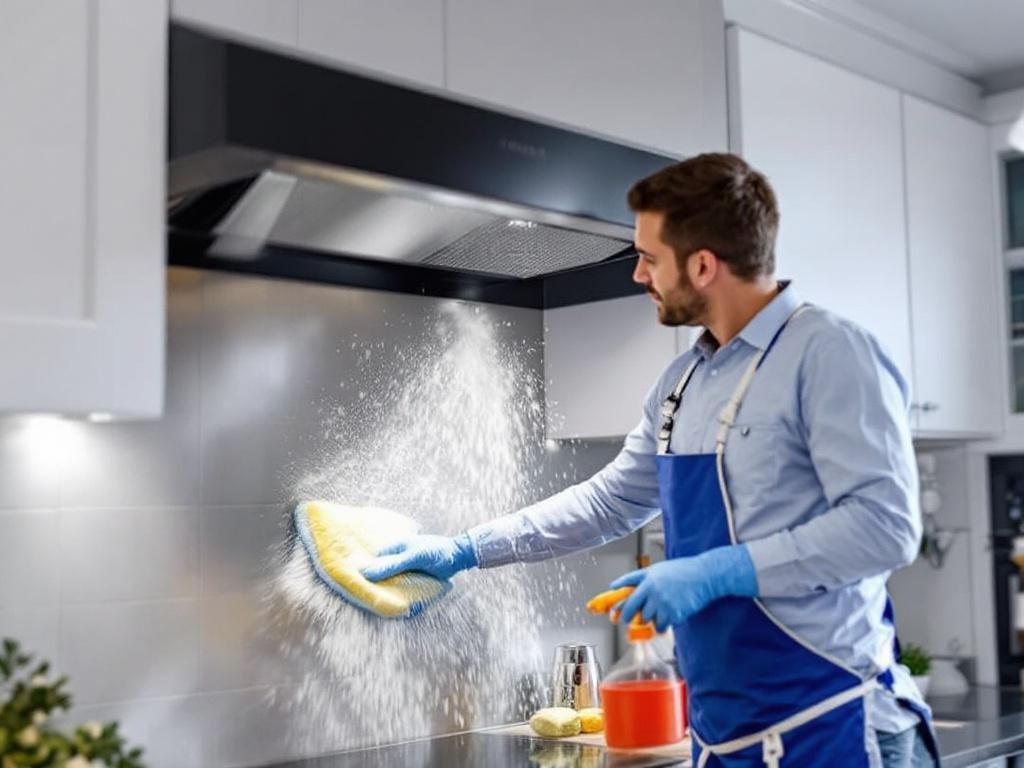
Cleaning your kitchen hood is an essential part of maintaining a safe and healthy home environment. In this guide, we'll walk you through the process of hood cleaning, step by step.
Why Should You Clean Your Kitchen Hood?
Regularly cleaning your kitchen hood helps to prevent fire hazards and ensures your exhaust system functions efficiently. A clean hood can also reduce unpleasant odors and improve indoor air quality.
What You'll Need
Before you start, make sure you have all the necessary tools and materials.
- Microfiber Cloths: These are ideal for wiping down the hood and removing grease.
- Dish Soap: A good dish soap can help break down grease and grime.
- Baking Soda: This is a great natural cleaner that can help remove stubborn stains.
- Vinegar: Vinegar can cut through grease and leave your hood sparkling clean.
- Spray Bottle: This will be used to apply the vinegar to the hood.
- Soft Scrub Brush: This will help you scrub away stubborn grime without scratching the surface of your hood.
Estimated Time and Costs
The process of cleaning your hood will take approximately 2-3 hours, depending on the level of grease and grime buildup. The cost of the cleaning materials should be around $20-$30.
Step-by-Step Guide to Hood Cleaning
Step 1: Prepare Your Area
Begin by covering your stovetop and countertops with a protective sheet or newspaper to catch any falling debris. Make sure your stove is turned off and cool to the touch before starting.
Step 2: Remove the Filters
Most kitchen hoods have removable filters. These can usually be taken out by sliding or popping them off. Check your hood's manual if you're unsure.
Step 3: Clean the Filters
Soak the filters in a mixture of warm water and dish soap. After about 10 minutes, scrub each filter with a brush, rinse them thoroughly, and allow them to dry.
Step 4: Clean the Hood
Make a cleaning solution of equal parts vinegar and water in your spray bottle. Spray the solution onto the hood and let it sit for a few minutes. Use your brush to scrub the hood, then wipe it clean with a microfiber cloth.
Step 5: Rinse and Dry
Rinse the hood with warm water to remove any remaining cleaning solution. Wipe it dry with a clean cloth to prevent water spots and streaks.
Step 6: Replace the Filters
Once the filters are completely dry, replace them back into the hood. Make sure they're securely in place before using your hood again.
Safety Tips
- Ensure the Stove is Off: Make sure your stove is turned off and cool to the touch before you start cleaning.
- Use Gloves: Wear gloves to protect your hands from the cleaning solution and any sharp edges on the hood or filters.
- Take Care with Filters: Be careful when removing and replacing the filters. They can be sharp and could potentially cause injury.
Conclusion
Regular hood cleaning is a crucial part of maintaining a safe and efficient kitchen. While it may seem like a daunting task, with the right tools and methods, you can easily do it yourself. Happy cleaning!