
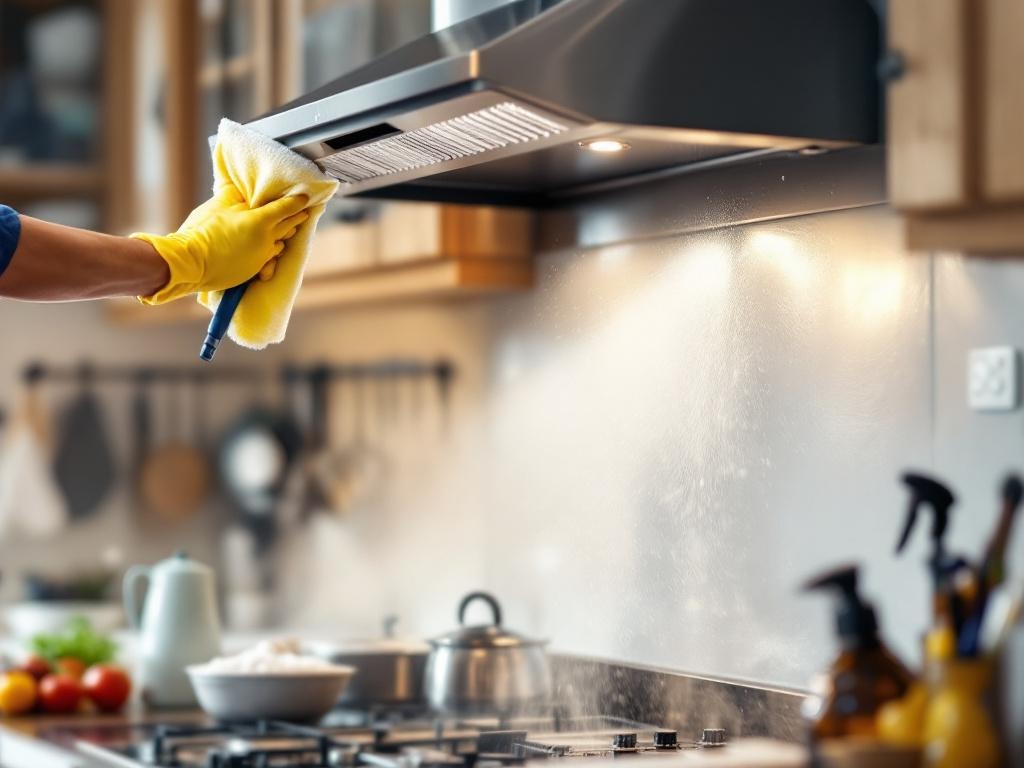
Keeping your kitchen hood and ventilation system clean is not only crucial for maintaining a healthy environment in your home, but it also enhances the efficiency and longevity of your appliances. This comprehensive guide will walk you through the steps of cleaning your kitchen hood and ventilation system effectively and safely.
Benefits of Regular Hood Cleaning
Regular hood cleaning offers several benefits:
- Improves air quality by reducing the amount of grease and smoke in the kitchen.
- Enhances the efficiency of your kitchen hood and ventilation system.
- Prevents potential fire hazards caused by accumulated grease and dirt.
- Extends the lifespan of your appliances.
Tools and Materials Needed
You will need the following tools and materials:
- Bucket
- Warm water
- Dish soap
- Soft cloth or sponge
- Scrub brush
- Non-abrasive degreaser
- Gloves
- Safety glasses
- Stepladder
Estimated Time and Cost
The process of cleaning your kitchen hood and ventilation system can take between 2 to 4 hours, depending on the level of dirt and grease buildup. The cost is minimal as most of the required tools and materials are commonly found in households. If you need to purchase a non-abrasive degreaser, it typically costs around $10-$15.
Step-by-Step Guide to Hood and Ventilation Cleaning
Step 1: Safety First
Before you begin, ensure you are wearing protective gloves and safety glasses to protect your skin and eyes from the degreaser.
Step 2: Remove the Filters
Most kitchen hood filters can be easily removed by sliding or popping them out. Refer to your appliance's manual if you're not sure how to remove the filters.
Step 3: Soak and Clean the Filters
Fill the bucket with warm water and a generous amount of dish soap. Place the filters in the bucket and let them soak for about 15-20 minutes. Then, use the scrub brush to clean off the grease and dirt. Rinse the filters thoroughly and let them dry.
Step 4: Clean the Hood
While the filters are drying, clean the hood using a sponge or soft cloth soaked in a mixture of warm water and dish soap. For stubborn grease and dirt, use a non-abrasive degreaser. Rinse the hood with clean water and dry with a clean cloth or towel.
Step 5: Reinstall the Filters
Once the filters are completely dry, reinstall them back into the hood. Ensure they are properly secured.
Safety Tips
While cleaning your kitchen hood and ventilation system, keep the following safety tips in mind:
- Always wear protective gloves and safety glasses when handling degreasers.
- Never use abrasive cleaners or tools that could scratch or damage your appliances.
- Ensure the area is well-ventilated when using degreasers.
Conclusion
Cleaning your kitchen hood and ventilation system might seem like a daunting task, but with the right tools and guidance, it's a manageable DIY project that can save you money and improve your home's air quality. Just remember to follow the safety tips and clean regularly to maintain the efficiency of your appliances.
For more information on maintaining your kitchen appliances, check out these useful resources: