
Introduction
The kitchen hood, also known as the exhaust hood or range hood, is an essential component of your kitchen. It helps to remove smoke, odors, heat, and airborne grease, improving the air quality in your home. However, it can get dirty and clogged with grease and dust over time, reducing its efficiency. This DIY guide provides a comprehensive procedure on how to clean your kitchen hood effectively.
Why Clean Your Hood?
Cleaning your hood regularly not only extends its lifespan but also ensures it works optimally. A dirty hood can pose a fire hazard since the grease buildup can ignite when exposed to high temperatures. Additionally, a clogged hood can lead to poor air quality in your kitchen, potentially causing health problems.
Tools and Materials Needed
- Bucket
- Warm water
- Dish soap
- Sponge or cloth
- Non-abrasive scrub brush
- Microfiber towel
- Commercial degreaser (optional)
Estimated Time and Cost
This DIY project should take about 1-2 hours, depending on the level of dirt and grime on your hood. As for the cost, if you already have the necessary cleaning supplies at home, it will cost you nothing. However, if you need to purchase a commercial degreaser, it will cost you around $5-$15.
Step-by-Step Hood Cleaning Guide
Step 1: Preparation
Start by turning off the hood and unplugging it from the power source. Remove the filters and any other removable parts.
Step 2: Cleaning the Filters
Soak the filters in a solution of warm water and dish soap for about 15 minutes. After soaking, scrub them with a non-abrasive brush to remove any remaining grease and rinse thoroughly.
Step 3: Cleaning the Hood
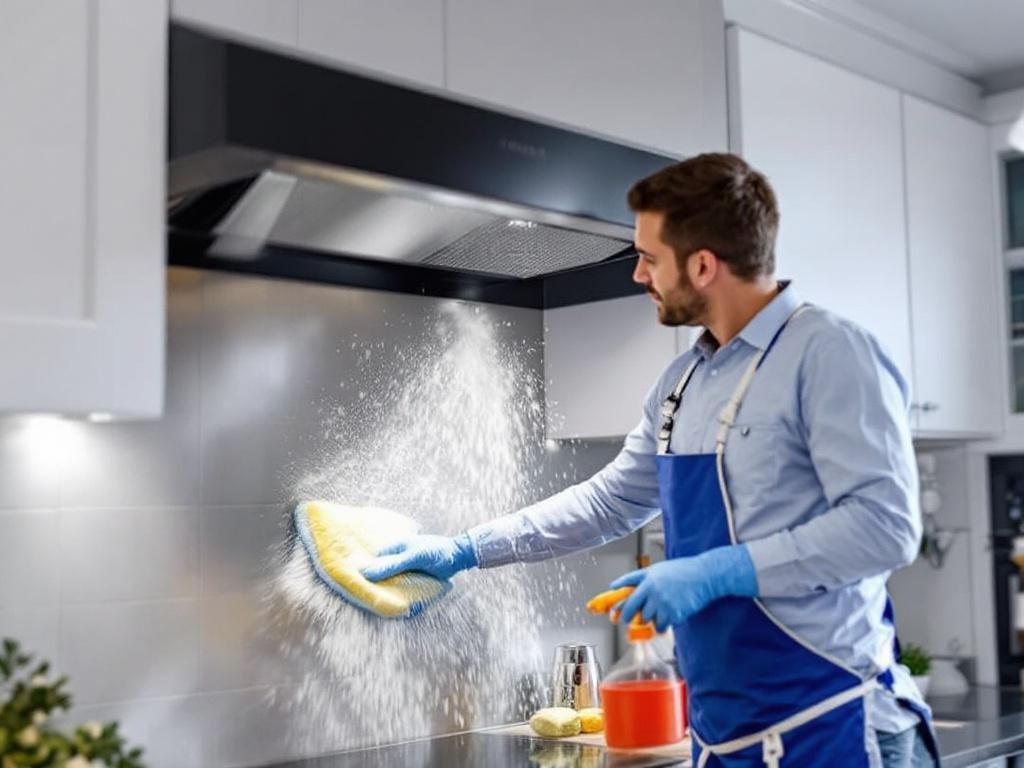
Apply the dish soap solution or commercial degreaser to the hood. Scrub the surface gently with a sponge or cloth, ensuring you clean all corners and edges. Rinse with clean water and dry thoroughly with a microfiber towel.
Step 4: Reassembling the Hood
Once everything is dry, reassemble the hood and plug it back into the power source. Test it to ensure it's working properly.
Safety Tips
- Always unplug the hood before cleaning to prevent electrical shock.
- Never use abrasive cleaners or brushes as they can scratch the surface of your hood.
- If you're using a commercial degreaser, ensure you wear gloves and goggles to protect your skin and eyes.
- Ensure the room is well-ventilated when using a commercial degreaser as it can emit fumes.
Conclusion
Cleaning your kitchen hood is a relatively simple and low-cost task that can significantly improve your kitchen's air quality and reduce fire risks. By following this step-by-step guide, you can effectively clean your hood and ensure it works optimally.