
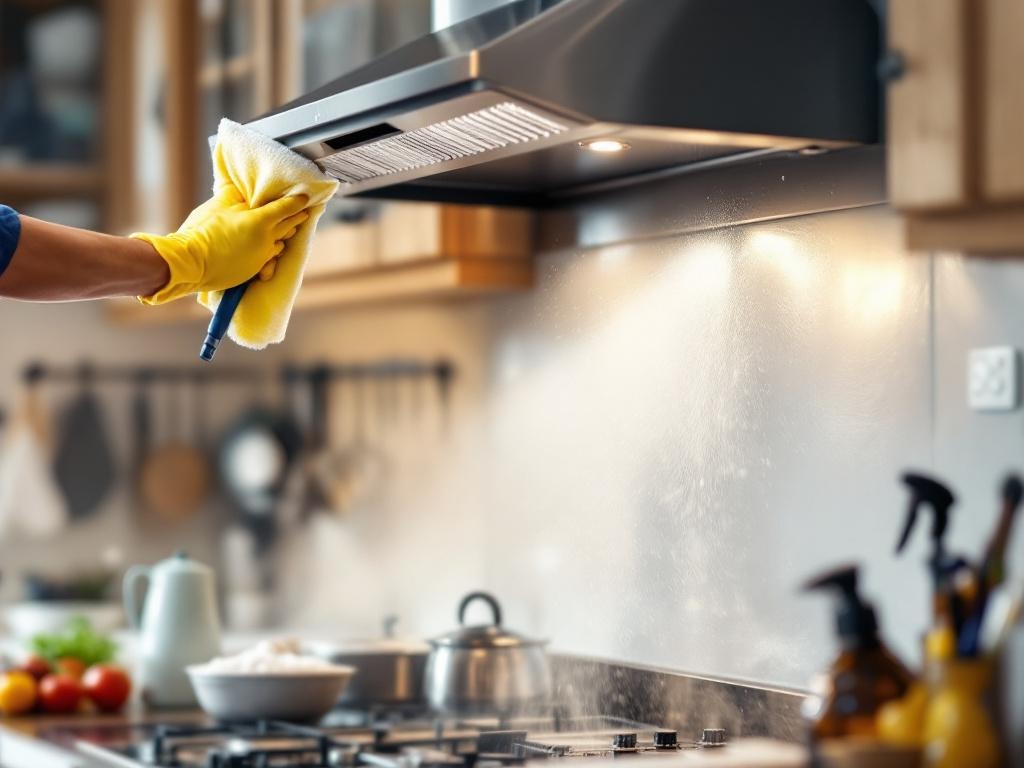
Regular hood cleaning is an essential task in any home, ensuring the longevity of your kitchen appliances and promoting a safer, healthier cooking environment. This guide will provide you with a step-by-step approach on how to effectively clean your kitchen hood.
Why Hood Cleaning is Important
Regular hood cleaning not only maintains the efficiency of your extractor fan but also helps prevent the build-up of grease, which can lead to potential fire hazards. It also helps in reducing odors and improving indoor air quality. (source)
Tools Needed
- Screwdriver - To remove the hood filter.
- Bucket - To mix your cleaning solution.
- Dish soap, Baking soda, or a commercial degreaser - To effectively clean the grease.
- Brush - To scrub off the grease.
- Microfiber cloth - To dry the hood.
Estimated Time and Costs
The entire cleaning process should take about 2 hours. The cost involved is minimal as most of the cleaning supplies can be found in your home. If purchasing a commercial degreaser, expect to spend around $10 - $20.
Step-by-Step Guide
1. Preparation
Before starting the cleaning process, ensure that the stove and the hood are switched off. Remove the filters from the hood. These are usually held in place by clips or screws.
2. Soaking the Filters
Fill the bucket with a mixture of warm water and dish soap or baking soda. Place the filters in the bucket and let them soak for about 15 to 20 minutes. For heavy grease build-up, a commercial degreaser may be necessary.
3. Cleaning the Hood
While the filters are soaking, start cleaning the hood. Apply the cleaning solution to the surface and scrub gently using a brush. Wipe off the residue with a microfiber cloth.
4. Cleaning the Filters
After soaking, scrub the filters using a brush. Rinse them thoroughly under warm running water. Allow the filters to dry completely before reattaching them to the hood.
5. Reassembling
Once the filters are completely dry, reinstall them into the hood. Ensure that they are securely in place.
Additional Tips and Safety Precautions
- Always wear gloves when handling a commercial degreaser to protect your skin.
- Never use abrasive pads or brushes as they can scratch the surface of your hood.
- Regularly clean your hood and filters to maintain their efficiency.
By following this guide, you can ensure that your kitchen hood is properly maintained, leading to a safer and more efficient cooking environment. Happy Cleaning!