
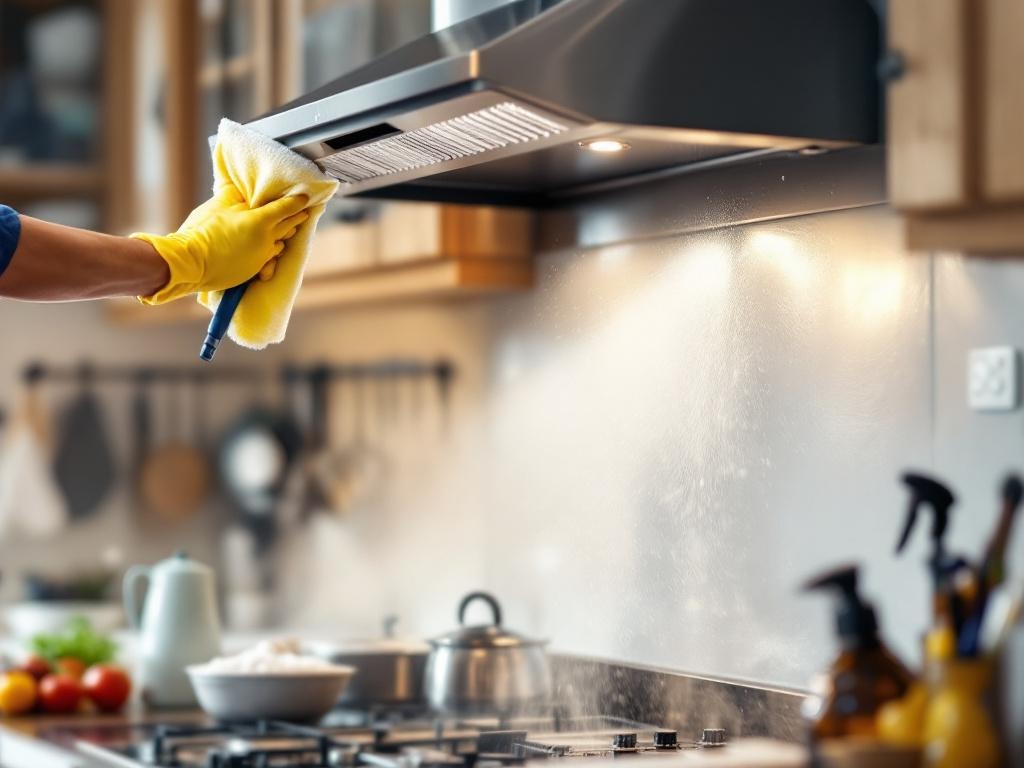
Your kitchen hood plays a crucial role in maintaining the cleanliness and hygiene of your kitchen. Over time, it accumulates grease, grime, and other pollutants that can affect its performance and potentially pose a fire hazard. Regular cleaning is essential to keep it in top shape. This comprehensive DIY guide will walk you through the step-by-step process of cleaning your kitchen hood.
Why is Hood Cleaning Important?
Over time, your kitchen hood can become clogged with grease, smoke, and other pollutants. This not only reduces its efficiency but can also pose a serious fire hazard. Regular cleaning ensures that your hood works properly, prolongs its lifespan, and keeps your kitchen safe and clean.
Tools and Materials Needed
- Grease-cutting Dish Soap
- Warm Water
- Non-abrasive Sponge
- Microfiber Cloth
- Baking Soda
- Vinegar
- Bucket
Step-by-Step Guide to Cleaning Your Kitchen Hood
Step 1: Safety First
Before starting, ensure that you're wearing protective gloves and eye wear. Turn off the hood and unplug it from the power source. This is crucial to avoid any electrical accidents.
Step 2: Remove the Filters
Most kitchen hoods have removable filters. Locate these and carefully remove them. If they are too greasy, you may want to place them directly into a bucket of warm water mixed with a grease-cutting dish soap.
Step 3: Soak and Scrub the Filters
Let the filters soak in the soapy water for about 15-20 minutes. Afterward, use a non-abrasive sponge to scrub off the grease and grime. If the filters are still dirty, you can create a mixture of baking soda and vinegar to help remove stubborn grease.
Step 4: Clean the Hood
While the filters are soaking, you can begin cleaning the hood. Dip your sponge into your soapy water and start wiping down the hood. Make sure to clean all areas, especially the corners and edges where grease tends to accumulate.
Step 5: Rinse and Dry
Rinse the filters thoroughly under warm water to remove any soap residue. Allow them to dry completely before reinstalling them. Similarly, rinse the hood with a damp cloth and dry it using a microfiber cloth to avoid streaks.
Step 6: Reinstall the Filters
Once the filters are completely dry, reinstall them back into the hood. Ensure that they are properly secured to prevent any issues during operation.
Additional Tips for Hood Cleaning
- Frequency: Clean your hood at least once a month. If you cook frequently, consider cleaning it more often.
- Dealing with Stubborn Grease: If you're dealing with stubborn grease, a mixture of baking soda and vinegar can be a great help. Apply the paste to the area, let it sit for 15 minutes, then scrub it off.
- Preventive Measures: To minimize the accumulation of grease, always turn on your hood when cooking and clean up spills immediately.
Conclusion
Cleaning your kitchen hood may seem like a daunting task, but with the right tools and a little elbow grease, you can keep it in top shape and ensure it works efficiently. Regular cleaning not only prolongs the lifespan of your hood but also maintains the cleanliness and safety of your kitchen.
For more information, check out this comprehensive guide on hood cleaning.