
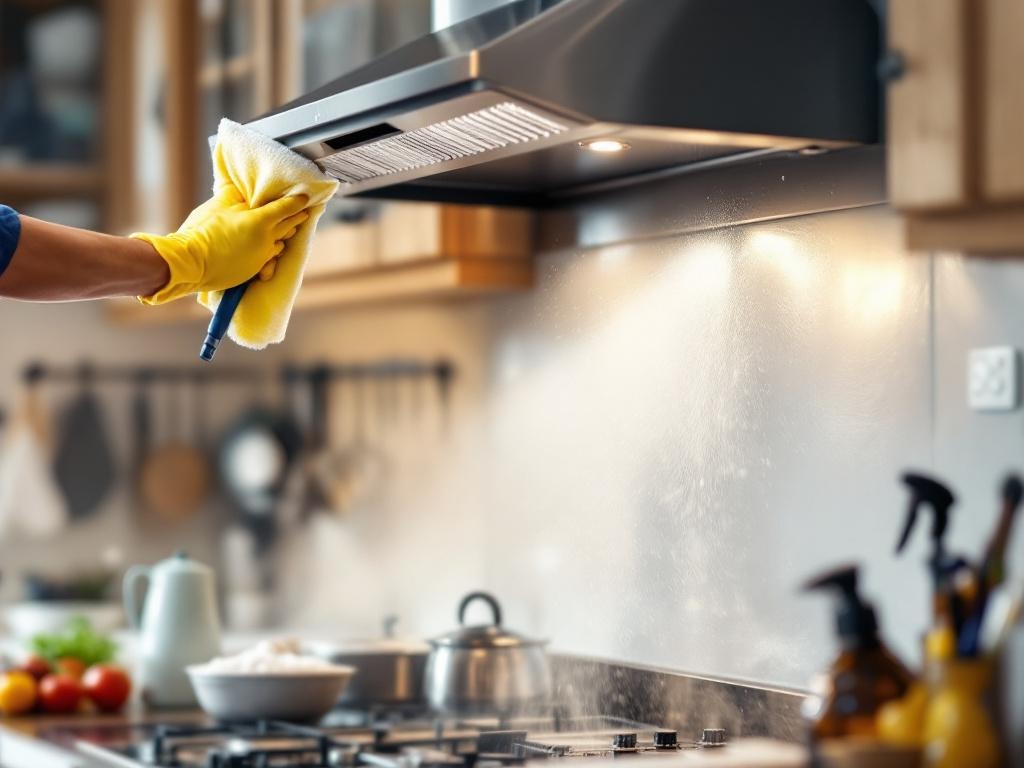
Keeping your kitchen clean and safe is a top priority for every homeowner, and an important part of this is making sure your kitchen hood is clean. This DIY guide will walk you through the steps to clean your kitchen hood, showcasing the tools you'll need, the estimated time and cost, along with some handy safety tips.
Why Is Hood Cleaning Important?
Cleaning your kitchen hood is important for a number of reasons:
- Maintains Air Quality: A clean hood ensures proper ventilation, reducing the amount of smoke, grease, and odors in your kitchen.
- Improves Fire Safety: Grease build-up in the hood can be a serious fire hazard. Regular cleaning minimizes this risk.
- Increases Appliance Lifespan: Regular cleaning can extend the lifespan of your kitchen hood and improve its efficiency.
Tools Needed for Hood Cleaning
Before you begin, make sure you have the following tools:
- Bucket
- Microfiber cloth or sponge
- Degreaser
- Scrub brush
- Protective gloves
- Safety glasses
Estimated Time and Cost
Cleaning your kitchen hood shouldn't take more than a couple of hours. As for the cost, most of the tools needed are common household items. However, if you need to purchase a degreaser, expect to spend around $10-$20.
Steps to Clean Your Kitchen Hood
Step 1: Preparation
First, turn off the power to your kitchen hood. This is an important safety step to prevent any electrical accidents. Next, remove the filters from your hood. These will be cleaned separately.
Step 2: Apply the Degreaser
Fill your bucket with warm water and add a good amount of degreaser. Dip your cloth or sponge into the solution and apply it to the inside of the hood. Let the solution sit for a few minutes to break down the grease.
Step 3: Scrub and Rinse
After letting the degreaser sit, use your scrub brush to gently scrub the inside of the hood. Once you've scrubbed all areas, rinse with warm water and dry with a clean cloth.
Step 4: Clean the Filters
Using the same degreaser solution, clean the filters. Soak them for a few minutes, then scrub with a brush. Rinse thoroughly and let them dry before reinstalling.
Step 5: Reassemble
Once everything is clean and dry, reassemble your kitchen hood. Turn the power back on and you're done!
Safety Tips
- Always Wear Protective Gear: When cleaning, make sure to wear gloves and safety glasses to protect your skin and eyes.
- Turn Off Power: Always turn off the power to your kitchen hood before starting the cleaning process.
- Use a Safe Degreaser: Choose a non-toxic degreaser to minimize health risks. You can find safe options at your local store or online.
Conclusion
Cleaning your kitchen hood is a straightforward task that can significantly improve your kitchen's air quality and safety. Remember to clean your hood regularly to keep your kitchen at its best. Happy cleaning!