
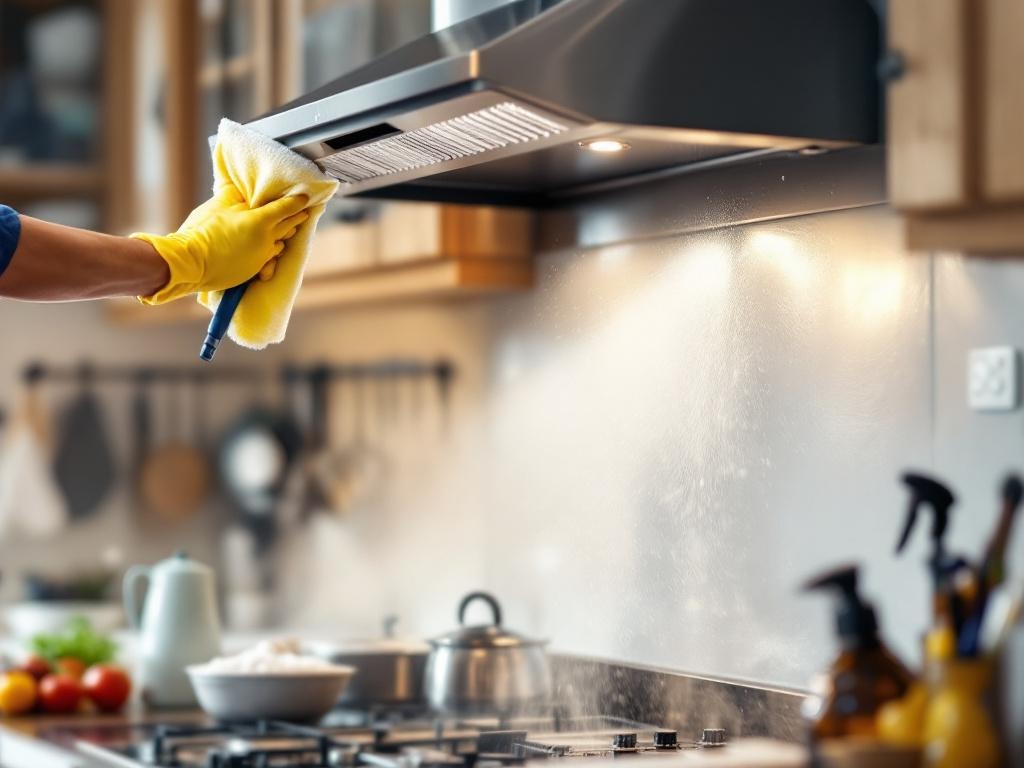
Keeping your kitchen hood clean is essential for maintaining a healthy, safe, and efficient cooking environment. This comprehensive guide will walk you through the steps to clean your kitchen hood thoroughly and safely.
Why is Hood Cleaning Important?
Hood cleaning is not just about maintaining the aesthetic appeal of your kitchen, but it also carries important safety implications. A clean hood reduces the risk of kitchen fires and improves the efficiency of your cooking appliances. Furthermore, it helps maintain good indoor air quality by reducing pollutants and odors.
What You'll Need
- Commercial degreaser
- Non-abrasive scrubbing brush
- Microfiber cloth
- Screwdriver
- Bucket of warm water
- Gloves
Estimated Time and Costs
This DIY hood cleaning project should take approximately 2-3 hours. The cost can vary depending on the cleaning supplies you already have at home. If you need to purchase all the recommended supplies, expect to spend about $30-$50.
Step-by-Step Guide to Hood Cleaning
Step 1: Preparation
Before you start, ensure that your stove and hood are switched off and cool to touch. Remove the filters from the hood. They can usually be removed by sliding them out or unscrewing them with a screwdriver.
Step 2: Cleaning the Filters
Most filters can be cleaned in the dishwasher, but if yours is particularly greasy, you may need to clean it manually. Soak the filters in a solution of warm water and a commercial degreaser for about 15-20 minutes. After soaking, scrub the filters with a non-abrasive brush to remove any remaining grease or dirt. Rinse the filters thoroughly and let them dry.
Step 3: Cleaning the Hood
While the filters are drying, turn your attention to the hood. Apply the degreaser to the hood's surface and let it sit for a few minutes. Then, scrub the surface with your non-abrasive brush. Wipe clean with a damp microfiber cloth. Repeat this process until all the grease and grime has been removed.
Step 4: Reassembling the Hood
Once the filters are dry, replace them back into the hood. Make sure they are securely fastened.
Safety Tips
- Always wear gloves when handling commercial degreasers to protect your skin from irritation.
- Never leave your hood filters soaking in degreaser unattended, especially if you have children or pets.
- Do not use abrasive brushes or scouring pads on your hood as they can scratch the surface.
Additional Resources
Looking for more information on kitchen cleaning and maintenance? Check out these resources: