
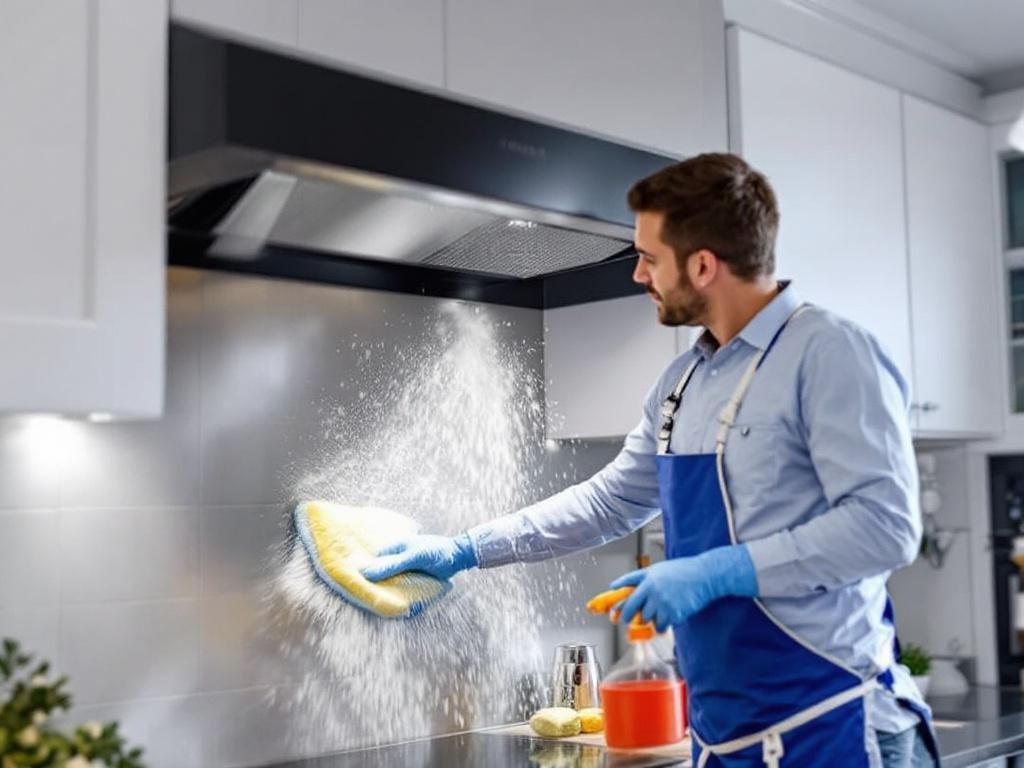
Cleaning your kitchen hood is a necessary task that improves the functionality of your ventilation system and promotes a healthy, safe kitchen environment. This comprehensive DIY guide walks you through the steps of cleaning your kitchen hood, offering practical tips and advice along the way.
Why You Should Clean Your Kitchen Hood
Your kitchen hood plays an essential role in your kitchen, removing excess heat, steam, and food odors. However, over time, grease and grime can build up, reducing its efficiency and even posing a potential fire risk. Regularly cleaning your kitchen hood can help to:
- Improve air quality in your kitchen
- Enhance the performance of your ventilation system
- Minimize fire risks
- Extend the lifespan of your kitchen hood
What You'll Need
Before you start, gather all the necessary tools and materials. Here's what you'll need:
- Microfiber cloths or paper towels
- Sponges
- Dish soap
- Bucket
- White vinegar
- Baking soda
- Paint brush
- Screwdriver
Estimated Time and Costs
Cleaning your kitchen hood should take about 2 hours. The cost for the cleaning materials should be around $10-20, depending on what you already have at home.
Step-by-Step Process
1. Preparing for Cleaning
Before you start cleaning, ensure that your stove or cooktop is switched off and cool. Remove any pots or pans from the area, and cover the cooking surface with a drop cloth or newspapers to protect it from drips.
2. Removing the Filters
Most kitchen hoods have removable filters. These can usually be easily removed by sliding them out or unscrewing them. Refer to your user manual if you're unsure how to remove your hood's filters.
3. Cleaning the Filters
Soak the filters in a mixture of warm water and dish soap. Leave them to soak for about 15 minutes. For more stubborn grime and grease, you can create a paste of baking soda and water and apply this to the filters. Use a paintbrush to spread the paste, then rinse and dry.
4. Cleaning the Hood
Now it's time to clean the hood itself. Create a cleaning solution of equal parts white vinegar and water in your bucket. Dip a sponge or cloth into the solution and wipe down the inside and outside of the hood. For stubborn stains, use the baking soda paste and a scrubbing brush.
5. Reassembling the Hood
Once everything is clean and dry, reassemble the hood and filters. It's important to ensure that everything is completely dry before you put it back together to prevent moisture damage or mold growth.
Safety Tips
- Never clean your hood while your stove or cooktop is in use or still hot.
- Always use gloves when handling the filters, as they can be greasy and slippery.
- Be careful not to scratch or damage the hood during cleaning.
Final Thoughts
Cleaning your kitchen hood can seem like a daunting task, but with the right tools and a little time, it's a task that can easily be done at home. Regular hood cleaning will not only improve the efficiency of your ventilation system but also promote a healthier, safer kitchen environment.
Note: This guide is intended for routine maintenance cleaning. If your hood is heavily soiled or hasn't been cleaned in a long time, you may need to consult a professional. For more information, check out this guide from the National Fire Protection Association on kitchen hood cleaning and safety.