
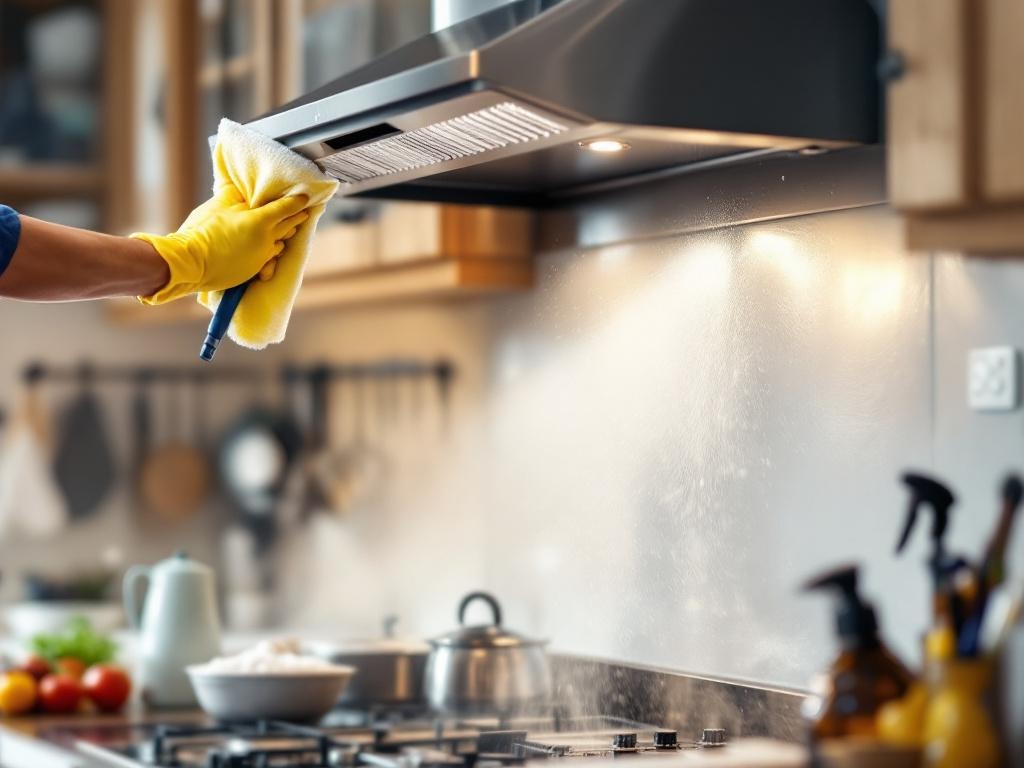
Keeping your kitchen hood clean is essential for maintaining a healthy and safe cooking environment. In this DIY guide, we'll provide you with a step-by-step process on how to clean your hood effectively and efficiently. From identifying the right tools to providing tips for safety, this comprehensive guide will turn you into a hood cleaning pro.
Why is Hood Cleaning Important?
Maintaining a clean kitchen hood is essential for several reasons:
- Fire Safety: Grease buildup in kitchen hoods can lead to potential fire hazards.
- Health Standards: A clean hood improves air quality by reducing pollutants and airborne grease.
- Efficiency: Regular cleaning enhances the efficiency of your exhaust system.
Heres What Youll Need
Before we dive into the cleaning process, gather the following tools and supplies:
- Commercial Degreaser: A commercial-grade degreaser is key in breaking down stubborn grease and grime. You can find this at most home improvement stores or online.
- Scrubbing Brush: A stiff brush will aid in removing hardened grime.
- Safety Goggles: Safety goggles will protect your eyes from degreaser spray and falling debris.
- Rubber Gloves: These will protect your hands from harsh chemicals.
- Paper Towels: Paper towels are helpful for wiping away loosened grime and excess degreaser.
Estimated Time and Cost
This process should take approximately 2-3 hours, depending on the level of buildup. Most of the cost will be in purchasing a commercial-grade degreaser, which typically ranges from $15-$30.
The Cleaning Process
Step 1: Preparation
Before you start, ensure your cooking range is switched off and cool to the touch. Remove the filters from the hood and soak them in warm water mixed with a small amount of degreaser.
Step 2: Apply the Degreaser
Apply your commercial-grade degreaser to the interior surfaces of the hood, making sure to cover all areas.
Step 3: Scrub and Rinse
After letting the degreaser sit for a few minutes, use your scrubbing brush to work on any stubborn areas. Once the grime has been loosened, wipe the surfaces clean with paper towels. Rinse with warm water and dry thoroughly.
Step 4: Clean the Filters
After the filters have soaked for a while, scrub them using your brush and rinse thoroughly. Allow them to dry completely before reassembling.
Safety Tips
- Wear Protective Gear: Always wear safety goggles and rubber gloves to protect yourself from chemicals and debris.
- Ensure Good Ventilation: Make sure your kitchen is well-ventilated during the cleaning process to avoid inhaling fumes from the degreaser.
- Handle with Care: Be careful when handling the filters as they can be sharp and could potentially cause injury.
Conclusion
Cleaning your kitchen hood is a necessary task that can greatly increase the safety and efficiency of your kitchen. With these steps, tools, and safety tips, you're now equipped to clean your kitchen hood like a pro. Remember to regularly clean your hood to prevent the buildup of grease and grime that can lead to potential hazards.