
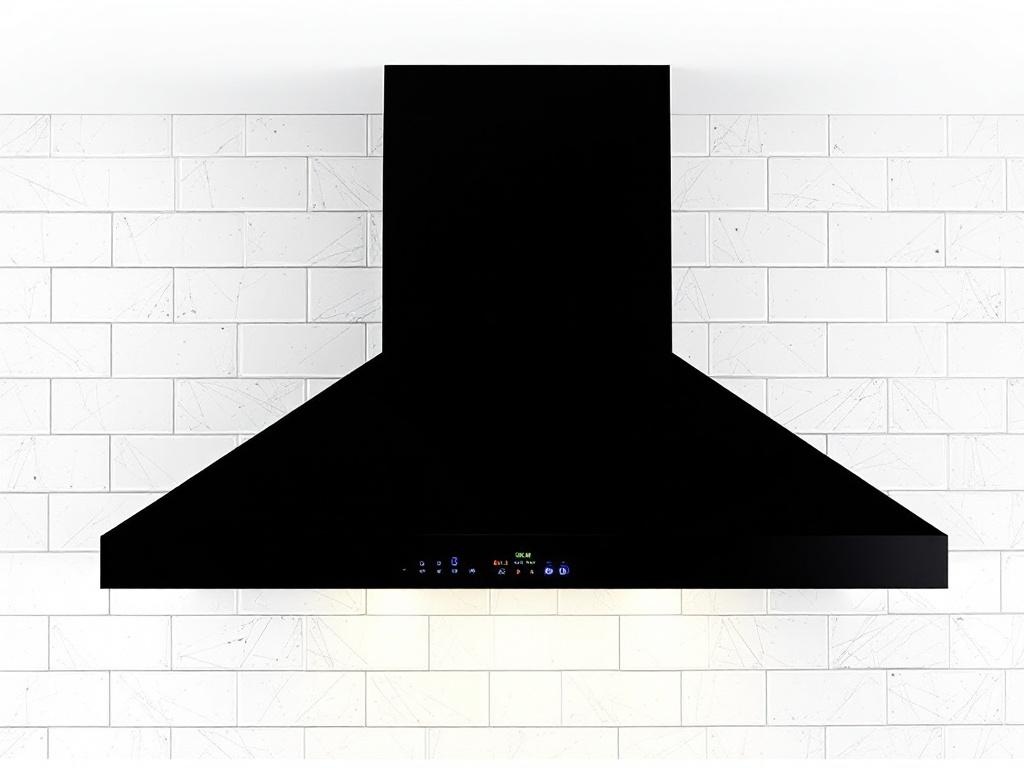
Range hoods are an integral part of any kitchen, helping to ventilate smoke and odors while cooking. However, over time, they can become coated with grease and grime, which can not only be unsightly but also pose a potential fire risk. Regular hood cleaning is a critical task for maintaining a safe and functional kitchen. This comprehensive guide will provide you with a step-by-step process on how to clean your kitchen hood like a pro.
Why is Hood Cleaning Important?
Cleaning your kitchen hood is more than just about aesthetics. Here are a few reasons why it's crucial:
- Fire Safety: Accumulated grease can be a fire hazard. Regular cleaning prevents grease buildup and reduces the chance of kitchen fires.
- Improved Functionality: A clean hood works more efficiently, removing smoke and odors more effectively.
- Health Considerations: Regular cleaning can prevent the growth of mold and bacteria, contributing to a healthier kitchen environment.
What You Will Need
Before you begin, ensure you have the following tools and materials:
- Grease-cutting dish soap
- Baking soda
- Vinegar
- A spray bottle
- Microfiber cloths
- A soft brush
- Protective gloves
- Bucket
Estimated Time and Cost
This task should take approximately two hours. The cost will largely depend on whether you already have the necessary cleaning supplies. If not, expect to spend around $20-$30.
Step-by-Step Guide to Hood Cleaning
1. Preparation
Note: Always start by switching off the power supply to the range hood to ensure safety.
- Remove the filters from the hood. Most can be easily slid or popped out.
- Fill your sink or a large bucket with warm water. Add a generous amount of dish soap and a quarter cup of baking soda. Mix until well combined.
- Soak the filters in the mixture for 10-15 minutes.
2. Cleaning the Filters
- After soaking, use a soft brush to scrub off any grease or grime from the filters.
- Rinse thoroughly under warm water. Make sure all the soap and grime is washed away.
- Leave the filters to dry completely.
3. Cleaning the Hood
- While the filters are drying, you can clean the hood. Mix equal parts of vinegar and water in a spray bottle.
- Spray this solution onto the hood and let it sit for a few minutes.
- Then, wipe off with a microfiber cloth. For stubborn spots, use a bit of baking soda and water paste.
4. Reassembling
Once everything is clean and dry, you can put the filters back into the hood.
Additional Tips
- For a deeper clean, consider using a commercial degreaser. However, make sure to follow the manufacturer's instructions carefully.
- If your filters are particularly dirty, they may need to be replaced instead of cleaned.
Conclusion
Regular hood cleaning is a simple yet essential task for every homeowner. By following this guide, you can maintain a clean and safe kitchen environment.