
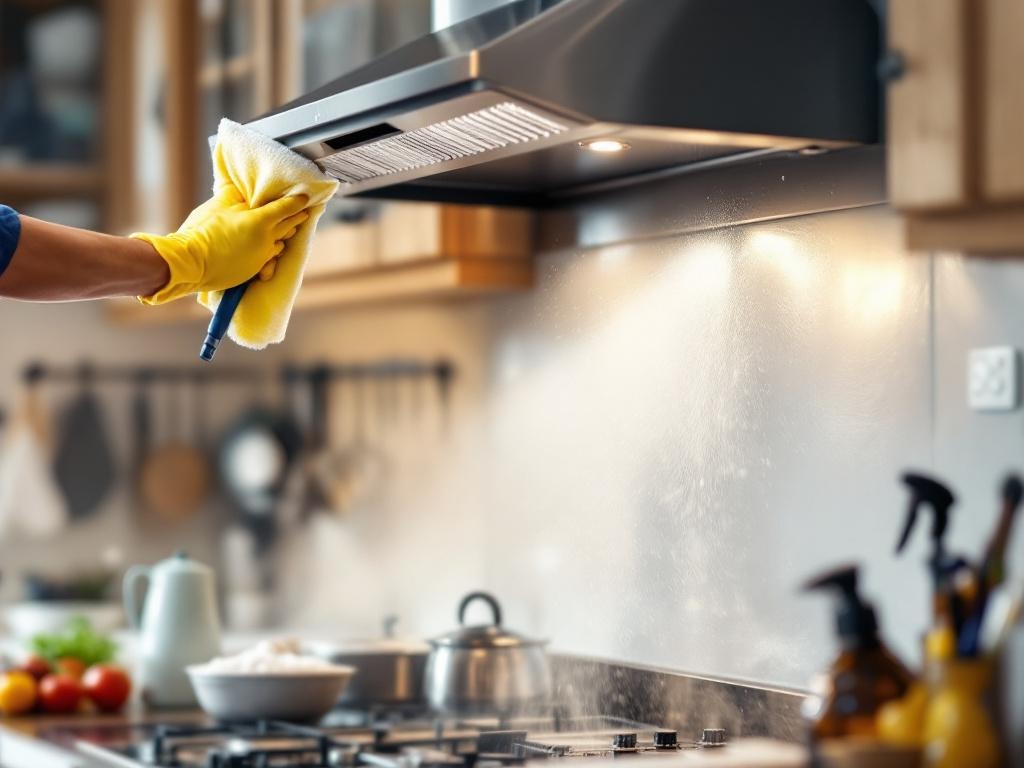
The kitchen hood is an essential part of your home's ventilation system. Over time, it can accumulate grease, dust, and other particles that can affect its performance and potentially pose a fire hazard. Therefore, regular hood cleaning is crucial. This guide provides a practical, comprehensive, and cost-effective approach to DIY hood cleaning.
Why is Hood Cleaning Important?
Cleaning your kitchen hood regularly is important for several reasons:
- Fire Safety: Grease buildup can be a fire hazard. According to the National Fire Protection Association, cooking is the leading cause of home fires and injuries, with grease being a major factor.
- Efficiency: A clean hood performs better, effectively removing smoke and odors from your kitchen.
- Health: An efficiently working hood can help prevent harmful substances from cooking processes from lingering in your kitchen, contributing to better air quality.
Tools and Materials Needed
Before you start, gather the following tools and materials:
- Dish soap
- Baking soda
- Vinegar
- Scrub brush
- Microfiber cloth
- Plastic bucket
- Screwdriver
Time and Cost
This project should take approximately 2-3 hours and will cost you only the price of the cleaning materials, which should be around $10-$20 if you don't already have them at home.
Steps to Clean Your Hood
Step 1: Preparation
Before starting, ensure your stove and hood are switched off and cool to the touch.
Remove the metal filters from your hood. These are usually found on the underside of the hood. Depending on your model, you may need a screwdriver to remove them.
Step 2: Cleaning the Filters
Soak the metal filters in a solution of equal parts vinegar and warm water. Let them sit for 15-20 minutes. For stubborn grease, add a few drops of dish soap to the solution. Use a scrub brush to clean the filters thoroughly, then rinse and dry.
Step 3: Cleaning the Hood
Create a paste with baking soda and a little water. Apply this paste to the interior of the hood using a cloth or sponge. Let the paste sit for a few minutes, then scrub with your brush. Wipe clean with a damp cloth.
Step 4: Reassembling
Once the filters and hood are completely dry, reassemble them. Ensure that the filters are securely in place.
Additional Tips and Safety Measures
- Frequency: For optimal performance and safety, clean your hood every 3-6 months, depending on how often you cook.
- Safety: Always ensure your stove is turned off before cleaning. Wear rubber gloves to protect your hands from grease and grime.
- Deep Cleaning: For a deeper clean, consider purchasing a commercial degreaser. However, ensure it's safe for your specific hood model.
By following these steps, you can maintain a clean and efficient kitchen hood, ensuring your kitchen's air quality and reducing the risk of fire hazards. Remember, regular maintenance is the key to the longevity of your kitchen appliances.