
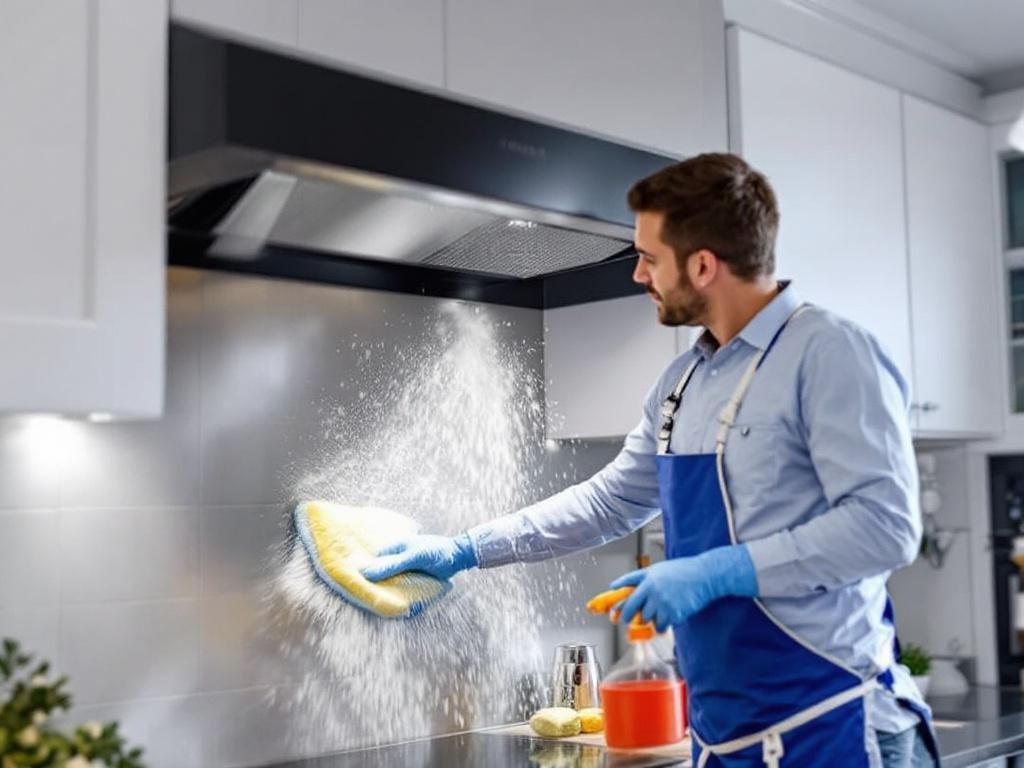
Having a clean hood is crucial for maintaining a healthy and safe environment in your kitchen. Regular hood cleaning can prevent grease buildup, reduce fire hazards, and improve air quality. This guide provides a detailed, step-by-step approach to hood cleaning, including the tools you'll need, the time it'll take, and the costs.
Why Hood Cleaning is Important
A dirty hood can be a fire hazard and contribute to poor air quality in your kitchen. Regular cleaning can prevent these issues and improve the overall efficiency of your ventilation system. To learn more about the importance of hood cleaning, visit National Fire Protection Association.
What You'll Need
- Degreaser: A commercial-grade degreaser is highly recommended. These can be found at any home improvement store.
- Scrub brushes: These will be used to scrub off the grease and grime.
- Bucket: This will be used to mix your cleaning solution and rinse your brushes.
- Gloves: Protect your hands from the degreaser and hot water.
- Goggles: Protect your eyes from any splatters.
- Microfiber cloths: These will be used to wipe down the hood after cleaning.
Estimated Time and Costs
This project should take around 2-3 hours, depending on the size and condition of your hood. The total cost for this DIY project, including the cleaning supplies, is estimated to be around $50.
Steps to Clean Your Hood
Step 1: Preparation
Before you start cleaning, make sure you have all your tools and materials ready. Turn off the power to the hood and remove any filters. Place a drop cloth or newspaper under the hood to catch any falling debris.
Step 2: Apply the Degreaser
Apply the degreaser to the hood, making sure to cover all areas. Let it sit for a few minutes to break down the grease. Be sure to follow the manufacturer's instructions for the degreaser.
Step 3: Scrub the Hood
Using your scrub brush, start scrubbing the hood. Start from the top and work your way down. Be thorough and make sure to scrub all areas, including the corners and edges.
Step 4: Rinse and Dry
Rinse off the degreaser with warm water. Once all the degreaser is rinsed off, dry the hood with a microfiber cloth.
Step 5: Clean the Filters
Clean the filters in a similar manner, applying the degreaser, scrubbing, rinsing, and drying. Once clean, reinsert the filters back into the hood.
Safety Tips
- Always wear protective gear, including gloves and goggles, when cleaning your hood.
- Never use a degreaser on a hot surface. Allow the hood to cool before cleaning.
- Ensure good ventilation to avoid inhaling the degreaser fumes.
Conclusion
Cleaning your hood is a necessary task that can greatly improve the safety and air quality in your kitchen. With this guide, you can effectively clean your hood on your own, saving you the cost of hiring a professional.