
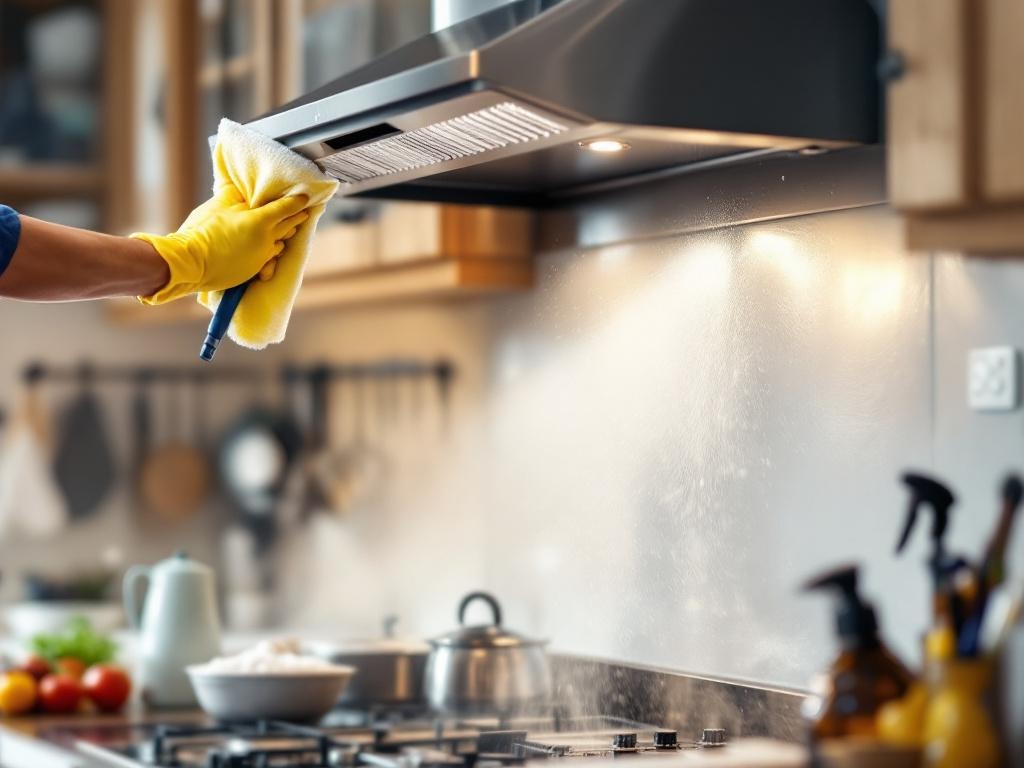
The kitchen hood is an essential part of your home, effectively removing smoke, grease, and cooking odors. However, it often gets overlooked when it comes to regular house cleaning. In this comprehensive guide, you'll learn everything you need to know about DIY hood cleaning. We'll provide you with a step-by-step process, the tools you'll need, estimated time, and costs involved.
Why is Hood Cleaning Important?
A clean kitchen hood doesn't just look good it's crucial for the safety and efficiency of your kitchen. Regular hood cleaning can:
- Reduce the risk of kitchen fires
- Improve ventilation for smoke and odor elimination
- Enhance kitchen air quality
- Extend the lifespan of your kitchen hood
Tools Needed for Hood Cleaning
To get started with your DIY hood cleaning project, you'll need the following tools:
- Bucket
- Scrub brush
- Microfiber cloths
- Dish soap or degreaser
- Gloves
Estimated Time and Costs
Cleaning your kitchen hood isn't a time-consuming task. Generally, it should take about 1-2 hours, depending on the level of grease buildup. As for the cost, since you're doing it yourself, you'll only need to cover the cost of cleaning supplies. If you don't already have these at home, expect to spend around $10-$20.
Step-by-Step Guide to Hood Cleaning
Step 1: Preparation
Firstly, ensure that your stove and hood are switched off and cool to the touch. Put on your gloves and get your cleaning supplies ready.
Step 2: Remove the Filters
Most kitchen hoods have removable filters. Carefully take them out according to your manufacturer's instructions.
Step 3: Soak the Filters
Fill your bucket with warm water and add a generous amount of dish soap or degreaser. Place the filters in the bucket and let them soak for about 10-15 minutes.
Step 4: Scrub the Filters
After soaking, use your scrub brush to carefully clean each filter. Rinse them thoroughly and let them dry completely before reinstallation.
Step 5: Clean the Hood
While the filters are drying, it's time to clean the hood. Using a damp microfiber cloth, wipe down the entire surface. For stubborn grease spots, apply a bit of your dish soap or degreaser, let it sit for a few minutes, then scrub gently.
Step 6: Reinstall the Filters
Once the filters are completely dry, reinstall them according to your manufacturer's instructions. Switch on the hood to ensure everything is working correctly.
Safety Tips
- Never attempt to clean a hot or running kitchen hood.
- Always wear gloves to protect your hands from grease and chemicals.
- Ensure your work area is well-ventilated when using a degreaser.
Conclusion
Hood cleaning may not be the most glamorous task, but it's an essential part of maintaining a safe and efficient kitchen. With this guide, you have everything you need to tackle the job yourself. Happy cleaning!
External Resources
For more information on hood cleaning and maintenance, check out these resources: