
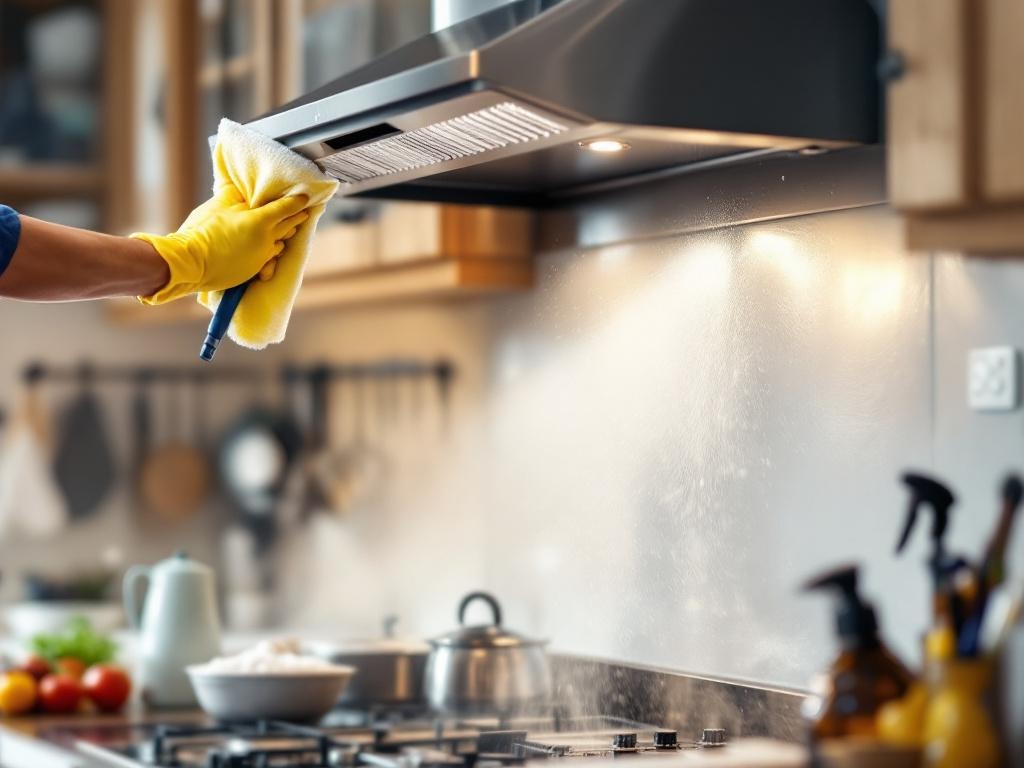
Keeping your hood clean is not only essential for maintaining a clean kitchen but also for ensuring the safety of your home. A dirty hood can pose a fire hazard, so it's crucial to clean it regularly. This comprehensive guide will show you how to clean your hood effectively, including the tools needed, estimated time, and costs.
Why Hood Cleaning is Important
Regular hood cleaning is necessary to ensure the proper functioning of your kitchen ventilation system. A clean hood will:
- Prevent build-up of grease and dirt
- Reduce the risk of kitchen fires
- Improve air quality in your kitchen
- Extend the lifespan of your hood
Tools Required for Hood Cleaning
To clean your hood effectively, you'll need the following tools:
- Scraper: To remove hardened grease
- Brush: To scrub off dirt and grime
- Detergent: To clean the surface and remove grease
- Microfiber cloth: To dry the hood after cleaning
- Gloves: To protect your hands
- Bucket: To mix the cleaning solution
Estimated Time and Costs
The estimated time for hood cleaning depends on the size and condition of your hood. Generally, it takes about 2-3 hours to clean a standard residential kitchen hood. The cost of cleaning supplies is usually around $20-$30. Remember, regular maintenance can save you money in the long run by preventing costly repairs or replacements.
Step by Step Guide for Hood Cleaning
Step 1: Preparation
Before you start cleaning, remove any loose dirt or grease from the hood. Turn off the electricity supply to the hood to avoid any accidents. Put on your gloves to protect your hands.
Step 2: Remove the Filters
Most hoods have removable filters. Take out these filters and soak them in a bucket of warm water mixed with detergent. Let them soak while you clean the rest of the hood.
Step 3: Clean the Hood
Use the scraper to remove any hardened grease from the hood. Then, apply the detergent and scrub with the brush. Rinse with clean water and dry with a microfiber cloth.
Step 4: Clean the Filters
After soaking, scrub the filters with a brush to remove any remaining grease or grime. Rinse with clean water and let them dry completely before reinserting them into the hood.
Step 5: Reassemble the Hood
Once everything is clean and dry, reassemble the hood. Remember to turn the electricity supply back on.
Additional Tips for Effective Hood Cleaning
- Always unplug the hood before you start cleaning to avoid electrical shocks.
- Don't use abrasive cleaners or brushes as they can scratch the surface of the hood.
- Regular maintenance is key. Clean your hood every 3-6 months, depending on how often you cook.
Safety Tips
- Wear gloves: Cleaning solutions can be harsh on the skin, so it's better to wear gloves while cleaning.
- Ensure proper ventilation: Open the windows or turn on the exhaust fan for proper ventilation while cleaning.
- Be careful with electricity: Always unplug the hood before starting the cleaning process.
Conclusion
Cleaning your hood regularly is a crucial part of kitchen maintenance. It keeps your kitchen cleaner, safer, and more efficient. With the right tools and steps, you can easily clean your hood and keep it in top condition. Happy cleaning!