
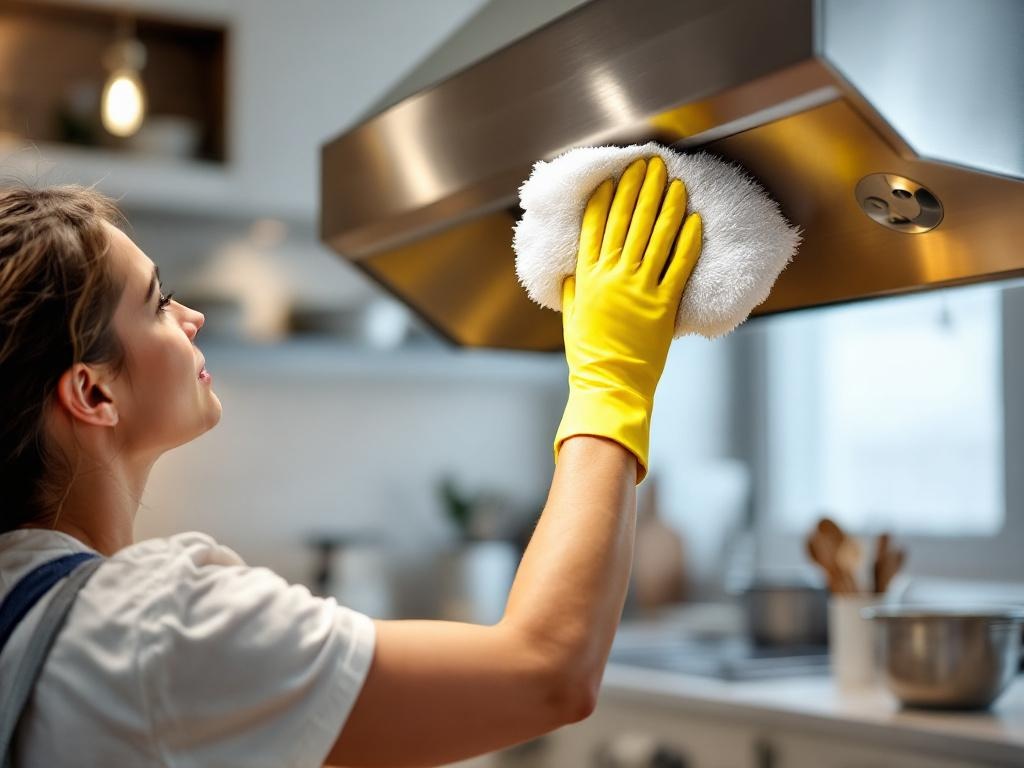
Your kitchen hood plays a crucial role in maintaining the cleanliness and safety of your kitchen. Over time, grease and dust can accumulate on your kitchen hood, reducing its efficiency. Today, we will walk you through a comprehensive, practical, do-it-yourself guide for hood cleaning.
Why is Regular Hood Cleaning Important?
Regular hood cleaning is essential for several reasons:
- Maintains kitchen cleanliness: Cleaning your hood regularly prevents the accumulation of grease and grime, which can dribble down onto your stove and countertops.
- Improves air quality: A clean kitchen hood means less smoke, grease, and odors circulating in your kitchen.
- Prevents fire hazards: Accumulated grease is a fire hazard. Regular cleaning can help prevent kitchen fires.
- Improves efficiency: A clean hood functions better, ensuring proper ventilation in your kitchen.
Tools You Will Need
Before you start the hood cleaning process, gather the following tools:
- Bucket
- Dish soap
- Baking soda
- Vinegar
- Scrub brush
- Microfiber cloth
- Screwdriver (if necessary to remove the hood)
Time and Cost
Cleaning your kitchen hood should take about 1-2 hours, depending on how dirty it is. The costs are minimal since most of the cleaning materials are everyday household items. If you don't already have them, expect to spend around $10 - $20.
Steps for Hood Cleaning
Follow these steps to clean your kitchen hood:
Step 1: Preparation
Disconnect the power to the kitchen hood before you start cleaning. This is a necessary safety measure.
Step 2: Remove the Filters
Most hoods have removable filters. These can be taken out by sliding or popping them out from the fan blades.
Step 3: Soak the Filters
Fill a bucket with hot water and add a generous amount of dish soap. Soak the filters in this solution for 10-15 minutes.
Step 4: Scrub the Filters
Use a scrub brush to remove the grease from the filters. If the filters are still greasy, create a paste of baking soda and water, apply it to the filters, and scrub again.
Step 5: Rinse and Dry
Rinse the filters with warm water. Once all the grease is removed, dry the filters completely before reattaching them to the hood.
Step 6: Clean the Hood
While the filters are drying, turn your attention to the hood. Create a solution of vinegar and water, and use a microfiber cloth to clean the hood.
Step 7: Reassemble
Once everything is clean and dry, reassemble the hood and filters. Reconnect the power once youre done.
Additional Tips and Safety Measures
Note:Always wear rubber gloves while cleaning the hood to protect your hands from the grease and grime. If your hood is extremely greasy, consider wearing safety glasses to protect your eyes.
If you're using a ladder to reach the hood, ensure it's secure and stable before you climb on it.
Remember: if your hood vent leads outside, you might need to clean the exterior vent cover as well.
Conclusion
Regular cleaning of your kitchen hood can enhance the overall hygiene and safety of your kitchen. With the right tools and steps, you can do it yourself with minimal cost and effort. Happy cleaning!