
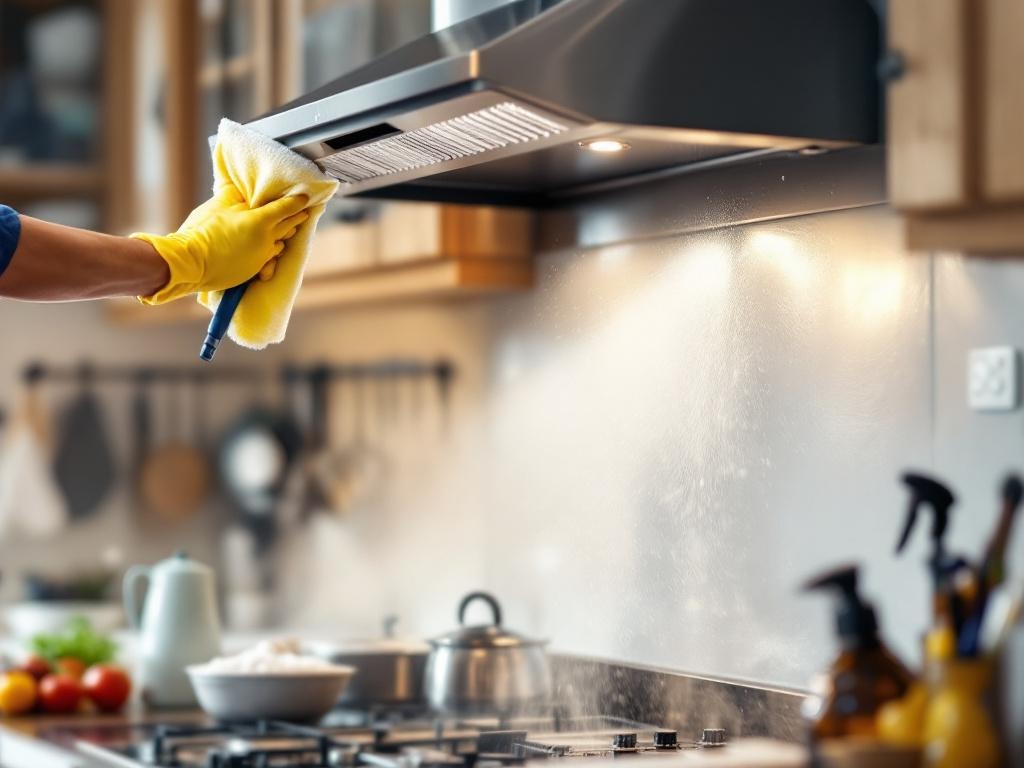
Keeping your kitchen clean is important for maintaining a healthy and safe environment. One often overlooked component is the kitchen hood. Regularly cleaning your kitchen hood is crucial to reduce fire hazards and ensure proper ventilation. In this comprehensive DIY guide, we'll walk you through the process of hood cleaning.
Why Hood Cleaning is Important
Cooking produces grease, smoke, and other pollutants that can accumulate on and in your hood. Over time, this build-up can become a fire hazard and hinder the performance of your hood. Regular cleaning helps to prevent these issues. Plus, a clean hood can improve the air quality in your kitchen, making it a more enjoyable place to cook and eat.
What You'll Need
Before we get started, here's a list of the tools and supplies you'll need:
- Degreaser: A commercial-grade degreaser is essential for breaking down the grease build-up. You can find this at most home improvement stores.
- Scrub brush: A scrub brush will help you remove the grease and grime.
- Microfiber cloth: This will be used to wipe away the loosened grime.
- Protective gear: It's recommended to wear gloves and safety glasses to protect yourself from the cleaning products.
- Bucket and warm water: You'll need this to rinse off the degreaser.
Estimated Time and Cost
Cleaning your kitchen hood shouldn't take more than a couple of hours, and you can expect to spend around $20-$30 on supplies if you don't already have them.
Steps to Clean Your Hood
Step 1: Preparation
First, ensure your stove is off and cool to the touch. Remove the filters from the hood. These can usually be slid or popped out. Place these filters in a sink or bucket filled with warm water and a generous amount of degreaser. Let them soak while you clean the rest of the hood.
Step 2: Apply the Degreaser
Using a cloth or sponge, apply the degreaser to the interior and exterior of the hood. Be sure to cover all areas, especially those with a heavy build-up of grease. Let the degreaser sit for the time indicated on the bottle.
Step 3: Scrub and Rinse
After the degreaser has had time to work, use your scrub brush to remove the loosened grime. Once you've scrubbed all areas, rinse with warm water. Wipe the hood down with a microfiber cloth to remove any remaining residue.
Step 4: Clean the Filters
By now, the filters should have soaked long enough for the degreaser to break down the grease. Use your scrub brush to clean each filter, then rinse with warm water. Once clean, allow the filters to dry completely before reinserting them into the hood.
Additional Tips and Safety Precautions
When cleaning your kitchen hood, safety should be your top priority. Here are a few tips:
- Always wear gloves and safety glasses when handling cleaning products.
- Ensure your kitchen is well-ventilated to avoid inhaling fumes from the degreaser.
- Never leave the degreaser on for longer than the recommended time, as this can damage the hood.
With regular cleaning, your kitchen hood can continue to function efficiently and safely. For more information on hood cleaning and maintenance, check out this National Fire Protection Association guide.