
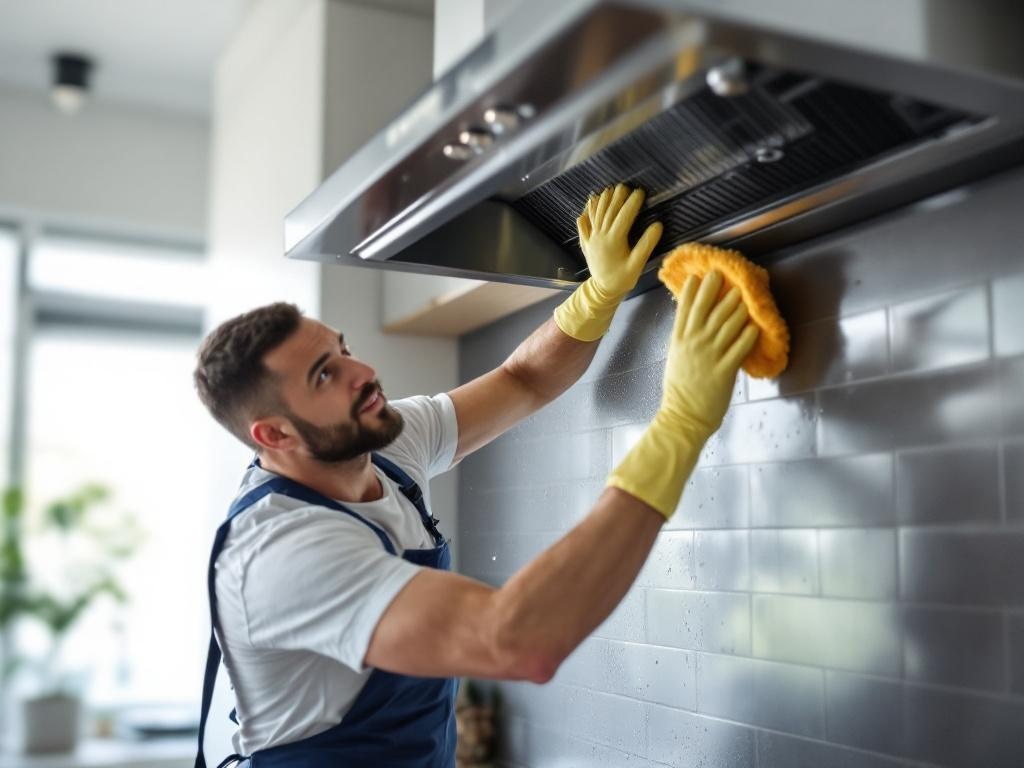
Cleaning your hood at home may seem like a daunting task, but with a little guidance, you can tackle it with confidence. This step-by-step guide will walk you through the process of safely and thoroughly cleaning your hood. Let's get started!
Why is Hood Cleaning Important?
Before delving into the practical steps, it's crucial to understand why hood cleaning is essential. The hood is designed to trap and filter out smoke, grease, and other particles that may be released during cooking. Over time, these substances accumulate and can cause a variety of problems, including:
- Increased risk of fire
- Reduced air quality
- Lower hood efficiency
- Unpleasant odours
What You Need
Before you start cleaning your hood, here are the tools and materials you will need:
- Soap or degreaser: A good quality dish soap or commercial degreaser will help break down the grease and grime.
- Scrub brush: A scrub brush will help remove stubborn residues.
- Microfiber cloths: These will be used for wiping surfaces and drying.
- Bucket: A bucket is useful for mixing your cleaning solution and soaking parts if needed.
- Screwdriver: This may be necessary for removing the hood filters.
- Gloves: Protect your hands with a pair of gloves.
Step-by-Step Guide to Cleaning Your Hood
Step 1: Preparation
The first step is to prepare your work area. Ensure that your stove and surrounding areas are clear of any items that may get in the way. Turn off the power to the hood to prevent any accidents.
Step 2: Remove the Filters
Most hoods have removable filters. These can usually be easily removed by sliding or popping them out. In some cases, you may need a screwdriver to loosen screws holding the filters in place.
Step 3: Soak and Clean the Filters
Once the filters are removed, soak them in a bucket filled with warm water and a generous amount of soap or degreaser. Allow the filters to soak for at least 10 minutes. After soaking, scrub the filters using your brush until all the grease and grime is removed. Rinse thoroughly and set aside to dry.
Step 4: Clean the Hood
With the filters removed, you can now clean the inside of the hood. Apply your cleaning solution to the interior surfaces and scrub with your brush. Be sure to get into all the nooks and crannies. Once you've scrubbed away the grime, wipe the surfaces with a damp cloth to remove the soap and residue. Dry thoroughly with a microfiber cloth.
Step 5: Reassemble the Hood
Once everything is clean and dry, you can reassemble the hood. Replace the filters and secure them in place. Turn the power back on and test the hood to ensure it's working correctly.
Additional Tips and Safety Considerations
- Always disconnect the power to the hood before starting the cleaning process to avoid any accidents.
- Never use abrasive cleaners or tools that could scratch or damage the surfaces of your hood.
- Regular maintenance can help keep your hood running efficiently. Aim to clean your hood at least once every three months.
For more information about the importance of hood cleaning and additional tips, check out this article by the National Fire Protection Association.
Cleaning your hood may be a bit of work, but the benefits of a cleaner, safer, and more efficient kitchen are well worth the effort. With this guide, you're well-equipped to handle the task. Happy cleaning!