
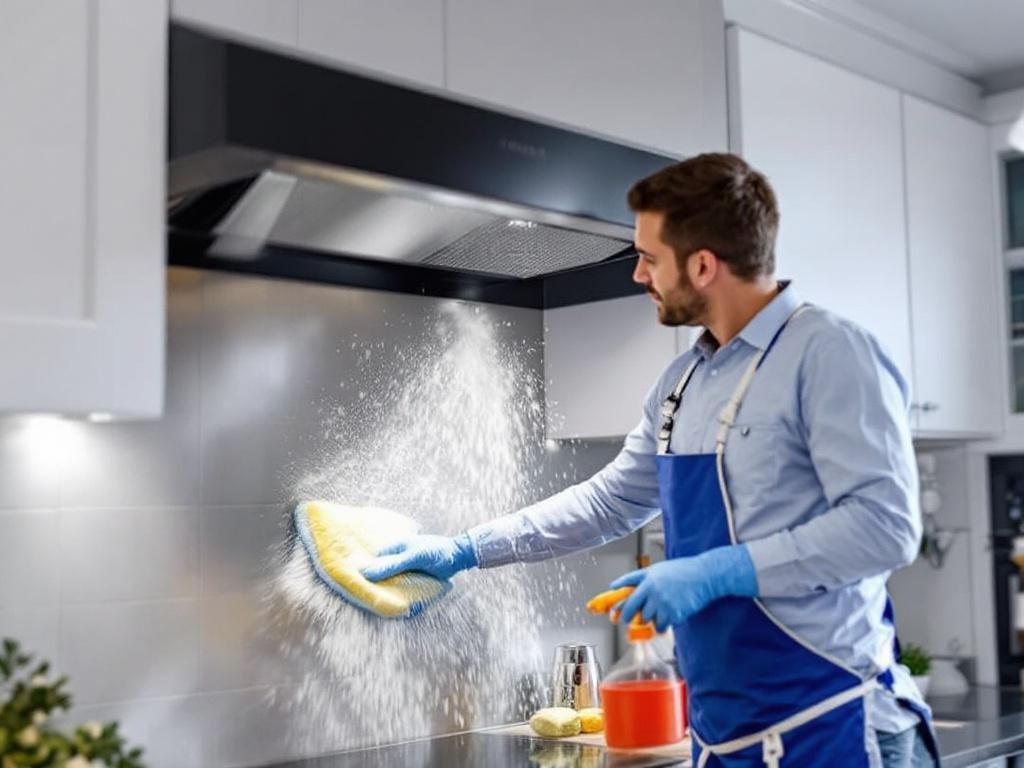
Your kitchen's exhaust hood plays a critical role in maintaining a clean and healthy cooking environment. However, regular use can lead to an accumulation of grease and grime. This DIY guide will walk you through the process of cleaning your kitchen hood efficiently and effectively.
Why Clean Your Hood?
Cleaning your kitchen hood might seem like a tedious task, but it's essential for several reasons:
- Improved air quality: A clean hood helps filter out smoke, grease, and other airborne particles, improving the air quality in your kitchen.
- Enhanced performance: Regular cleaning boosts the performance of your hood, ensuring it works at its optimum capacity.
- Reduced fire risk: Accumulated grease can pose a fire hazard. Cleaning your hood frequently reduces this risk.
Tools Needed
Before you begin, gather the following cleaning supplies:
- Dish soap
- Baking soda
- Vinegar
- Scrub brush
- Microfiber cloth
- Bucket
- Screwdriver (if necessary to remove the hood)
Estimated Time and Cost
This cleaning process should take about two hours. The cost is minimal as most households already have the necessary cleaning supplies. If you need to purchase any items, the total cost should be under $10.
Step-by-Step Cleaning Process
Step 1: Remove the Filters
Start by turning off the hood and then carefully removing the filters. Most hoods have metal filters that can be easily slid or popped out.
Step 2: Soak the Filters
Fill your bucket with warm water. Add a generous amount of dish soap and a quarter cup of baking soda. Soak the filters in this solution for about 15-20 minutes.
Step 3: Clean the Hood
While the filters are soaking, you can clean the hood. Mix equal parts of vinegar and warm water in a bowl. Dip your cloth in this solution and wipe the hood. Remember to pay extra attention to the greasy spots.
Step 4: Scrub the Filters
After soaking, scrub the filters using your brush. If they are still greasy, sprinkle some baking soda on them and continue scrubbing. Rinse them thoroughly and let them dry.
Step 5: Reinstall the Filters
Once the filters are completely dry, reinstall them. Make sure they are secured properly.
Safety Tips
- Avoid harsh chemicals: Stick to natural cleaning solutions to avoid inhaling toxic fumes.
- Be gentle: When cleaning, be gentle to avoid damaging the hood or filters.
- Ensure proper ventilation: Always ensure your kitchen is well-ventilated when cleaning your hood.
Maintenance Tips
- Regular cleaning: Aim to clean your hood every three months.
- Use the hood: Always use your hood when cooking to help control grease and smoke.
- Change filters: If your filters are damaged or extremely dirty, consider replacing them.
For more tips and tricks on home maintenance, check out this comprehensive guide on This Old House.
Note: Always follow the manufacturer's instructions when cleaning your kitchen hood. This guide is a general approach and may not apply to all models.