
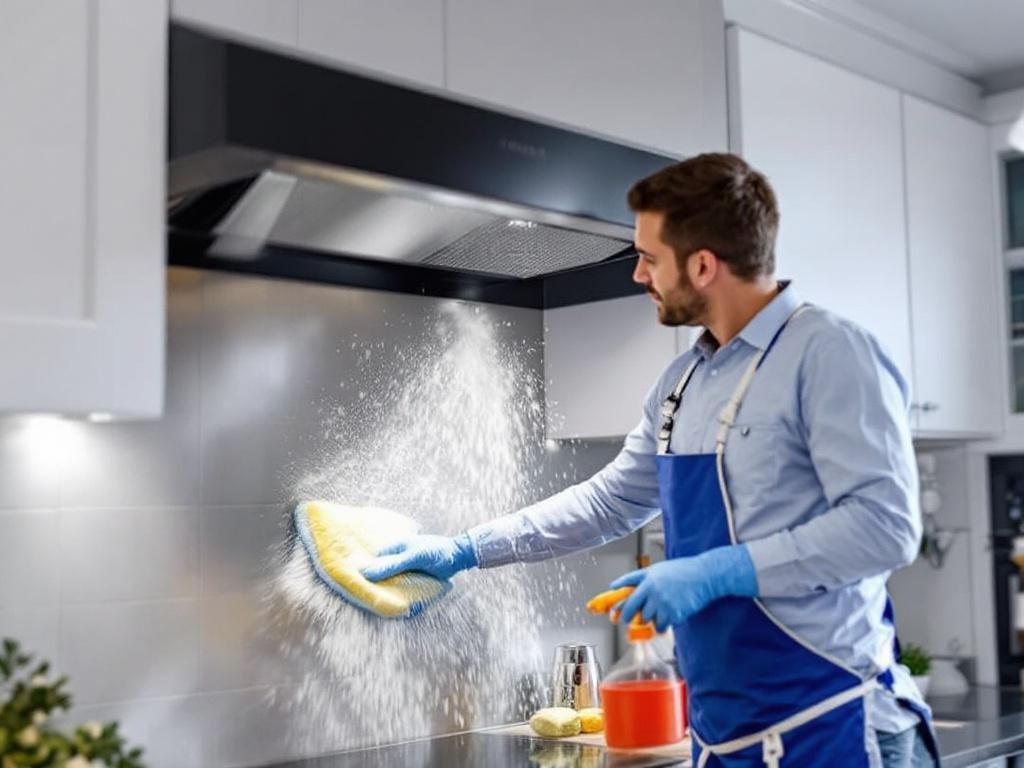
Cooking is a daily routine in most households. However, this routine may lead to the accumulation of grease and grime in your kitchen hood over time. Regular cleaning of the hood is essential to maintain a healthy and safe kitchen environment. This comprehensive guide will provide you with a step-by-step approach to DIY hood cleaning.
Why is Regular Hood Cleaning Important?
Hood cleaning is not just about maintaining the aesthetic appeal of your kitchen. It carries a host of other benefits:
- Prevents the accumulation of grease and dirt which could lead to a potential fire hazard.
- Ensures efficient operation of the exhaust fan, maintaining optimal air quality in your kitchen.
- Prevents the growth of harmful bacteria and mold that thrive in greasy environments.
- Helps in avoiding costly repairs or replacements due to neglect.
Tools Needed for Hood Cleaning
You will need the following tools for a successful DIY hood cleaning:
- Microfiber cloths: These are excellent for wiping the surfaces clean after washing.
- A good degreaser: This is essential for breaking down the stubborn grease and grime.
- A soft scrub brush: This is used to scrub the surfaces without scratching them.
- Bucket and warm water: Needed for rinsing the surfaces after scrubbing.
Step-by-Step Guide to Hood Cleaning
Step 1: Preparation
Start by turning off the power to your range hood to avoid any accidents. Cover the cooktop with a sheet to protect it from any dripping grime or water. Remove the filters from the hood and set them aside.
Step 2: Cleaning the Filters
Filters are the primary grease collectors and require thorough cleaning. Spray them generously with a degreaser and let them soak for a few minutes. Scrub the filters gently with the brush, rinse with warm water, and leave them to dry.
Step 3: Cleaning the Hood
Apply the degreaser on the interior and exterior of the hood. Let it sit for a few minutes before scrubbing gently with the brush. Rinse with warm water and wipe clean with the microfiber cloth.
Step 4: Reassembling the Hood
Once everything is dry, reinstall the filters and turn the power back on. Your hood should now be clean and ready for use.
Safety Tips for Hood Cleaning
Always prioritize your safety when cleaning the range hood. Here are some safety tips to keep in mind:
- Always turn off the power before starting the cleaning process.
- Ensure that your hands are dry when handling electrical components.
- Wear protective gear, such as gloves and goggles, to protect yourself from the degreaser and grime.
- Never leave the degreaser on the hood for longer than the recommended time as it could damage the surface.
Estimated Time and Cost
Cleaning your kitchen hood should take about 1-2 hours, depending on the level of grime accumulated. As for the cost, you will only need to invest in a quality degreaser, which ranges between $10 and $20. The rest of the tools are commonly found in most households.
Wrap Up
Cleaning your kitchen hood regularly is vital for the functionality of your kitchen and the health of your household. With this guide, you can carry out this task yourself and save on professional cleaning services. For more information on cleaning and maintaining your kitchen, check out Good Housekeeping.