
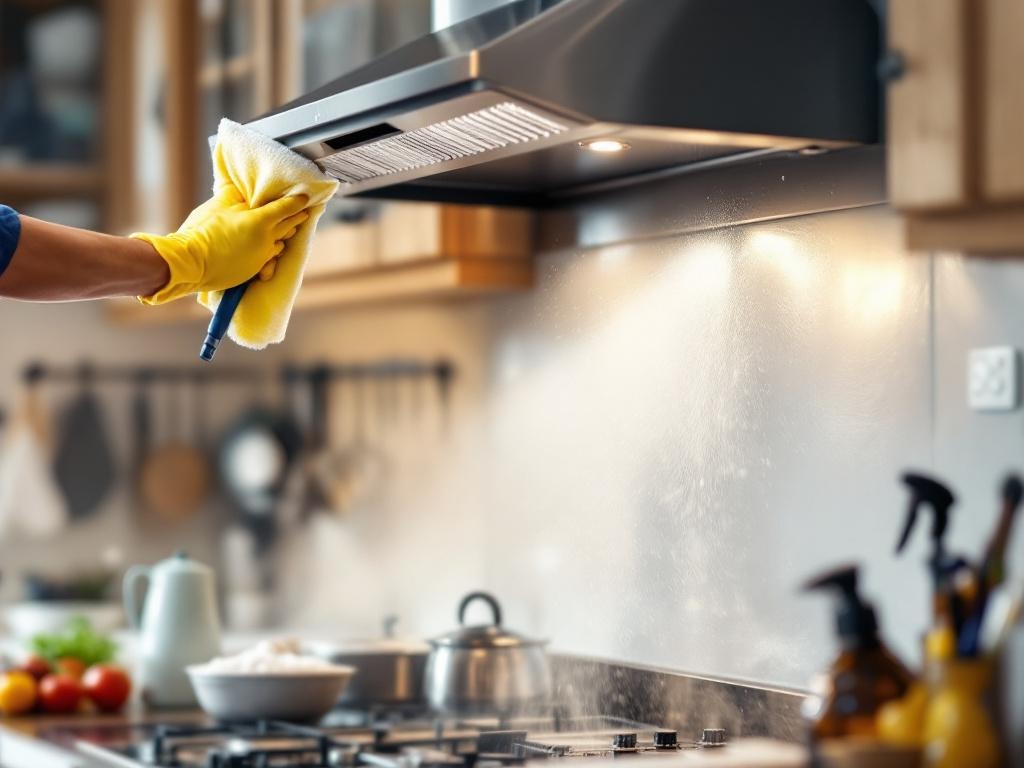
Your kitchen hood and ventilation system play a crucial role in keeping your cooking space clean, smoke-free, and pleasant. Regular maintenance and cleaning of these systems can help prolong their lifespan, improve their efficiency, and prevent potential fire hazards. This comprehensive DIY guide will take you through the process of cleaning your kitchen hood and ventilation system.
Understanding the Importance of Hood and Ventilation Cleaning
Before we dive into the process, it's essential to understand why regular cleaning of your hood and ventilation is crucial. Kitchen hoods and ventilation systems accumulate grease and grime over time. Not only can this buildup affect the performance of the system, but it can also pose a significant fire risk.
Benefits of Regular Cleaning
- Improved performance: A clean hood and ventilation system work more efficiently, removing smoke and cooking odors more effectively.
- Fire safety: By removing grease buildup, you significantly reduce the risk of kitchen fires.
- Longer lifespan: Regular maintenance can help prolong the life of your hood and ventilation system.
- Savings: A well-maintained system operates more efficiently, potentially saving you money on energy bills.
Tools and Materials You'll Need
Before you start, ensure you have all the necessary tools and materials. Here is a list of what you will need:
- A screwdriver
- Warm water
- Dish soap or degreaser
- A scrub brush
- A sponge
- Towels or rags for drying
- A bucket
DIY Hood and Ventilation Cleaning Process
Now that you've gathered your tools, let's get started with the cleaning process.
Step 1: Power Off Your Ventilation System
Before you start cleaning, it's imperative to switch off your ventilation system. This is a crucial safety step, so please don't skip it.
Step 2: Remove the Filters
Using your screwdriver, carefully remove the filters from the hood. Most filters slide or pop out of the underside of the hood.
Step 3: Clean the Filters
Apply the dish soap or degreaser to the filters, then scrub with a brush. Rinse with warm water and leave them to dry.
Step 4: Clean the Ventilation Hood
With the filters removed, you can now clean the hood. Apply your cleaning solution to the hood and scrub with a sponge or brush. Rinse with warm water and dry with a towel.
Step 5: Reinstall the Filters
Once the filters are completely dry, reinstall them back into the hood.
Step 6: Power On Your Ventilation System
After everything is dry and reassembled, you can power the system back on.
Additional Tips and Safety Precautions
- Wear protective gear: Consider wearing gloves and eye protection to protect yourself from the cleaning solution.
- Regular cleaning: Depending on how often you cook, you should clean your hood and ventilation system every 3-6 months.
- Deep cleaning: If your hood and ventilation system have not been cleaned in a while, consider using a commercial degreaser for a deep clean.
Recap of the DIY Hood and Ventilation Cleaning Process
| Steps | Tasks |
|---|---|
| Step 1 | Power off your ventilation system |
| Step 2 | Remove the filters |
| Step 3 | Clean the filters |
| Step 4 | Clean the ventilation hood |
| Step 5 | Reinstall the filters |
| Step 6 | Power on your ventilation system |
Conclusion
Cleaning your kitchen hood and ventilation system might seem like a daunting task. However, with the right tools, a little time, and this guide, you can do it yourself. Remember to clean regularly to keep your kitchen smoke-free and safe.
For more detailed information, feel free to check out this