
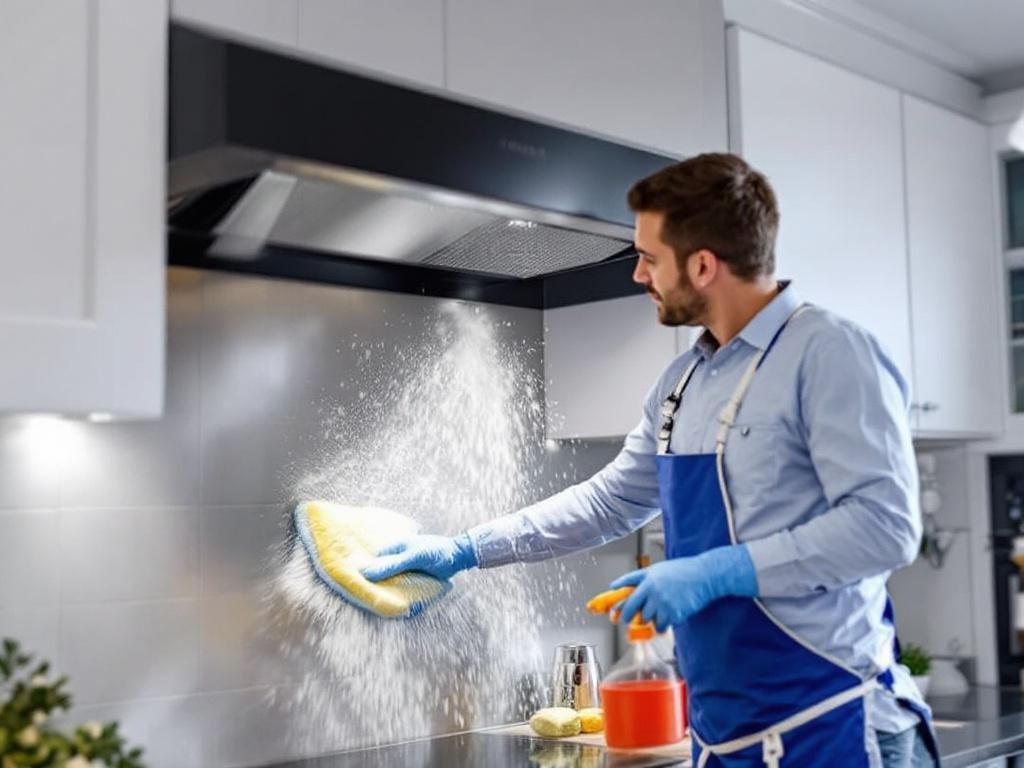
When it comes to keeping your kitchen clean and safe, one task that often gets overlooked is hood cleaning. A clean range hood is essential for maintaining good air quality in your kitchen, and a dirty one can lead to all sorts of problems, including fire hazards. In this article, we'll provide a comprehensive, step-by-step guide on how to clean your kitchen hood yourself.
Why Clean Your Kitchen Hood?
The purpose of your kitchen hood is to trap grease, smoke, and other airborne particles that arise during cooking. Over time, these substances can build up and create a greasy, grimy mess that can be challenging to clean. Additionally, if not cleaned regularly, your kitchen hood can become a serious fire hazard. According to the National Fire Protection Association, cooking is the leading cause of home fires and home fire injuries, and a dirty kitchen hood can contribute to this risk.
Tools You Will Need
- Dish Soap: A good degreasing dish soap will help dissolve the grease and grime on your hood.
- Microfiber cloths: These are excellent for wiping down surfaces without scratching them.
- A Scrub Brush: A scrub brush will help you get into those hard-to-reach corners and crevices.
- Baking Soda: Baking soda is a natural abrasive that can help scrub away stubborn grime.
- Vinegar: Vinegar is a natural, safe cleaner that can cut through grease.
- A Spray Bottle: This will be used to apply your vinegar cleaner.
Estimated Time and Cost
The process of cleaning your kitchen hood can take anywhere from one to three hours, depending on the level of buildup. As for cost, since most of the tools and ingredients are common household items, you should be able to clean your hood for under $20.
Step-by-Step Guide to Cleaning Your Kitchen Hood
Step 1: Remove the Filters
The first step in cleaning your kitchen hood is to remove the filters. These are typically located on the underside of the hood and can usually be easily removed by sliding or popping them out.
Step 2: Clean the Filters
Once you've removed the filters, it's time to clean them. Soak them in a mixture of hot water and dish soap for about 15 minutes. After they've soaked, use your scrub brush to scrub away any remaining grease or grime. Rinse them thoroughly and leave them to dry while you clean the rest of the hood.
Step 3: Clean the Hood
With the filters removed, you can now clean the rest of the hood. First, wipe down the exterior with a damp microfiber cloth to remove any loose dust or grease. Then, make a paste with your baking soda and water and apply it to any stubborn spots. Scrub these areas with your scrub brush until the grime loosens.
Step 4: Apply Vinegar Solution
Once you've scrubbed away as much grime as you can with the baking soda paste, it's time to apply your vinegar solution. Fill your spray bottle with equal parts vinegar and water and spray it onto the hood. Let it sit for a few minutes to break down the grease, then wipe it away with a clean, damp cloth.
Step 5: Replace the Filters
Once your filters are completely dry, you can replace them in the hood. Make sure they are securely in place before using your range hood again.
Safety Tips
- Always turn off and unplug your hood before cleaning it.
- Never use abrasive cleaners or tools that could scratch your hood.
- Be careful not to get any electrical components wet when cleaning your hood.
- Always make sure your filters are completely dry before replacing them.
By following this guide, you'll be able to maintain a clean and safe kitchen hood. Remember, regular cleaning is key to preventing hazardous grease buildup. Happy cleaning!