
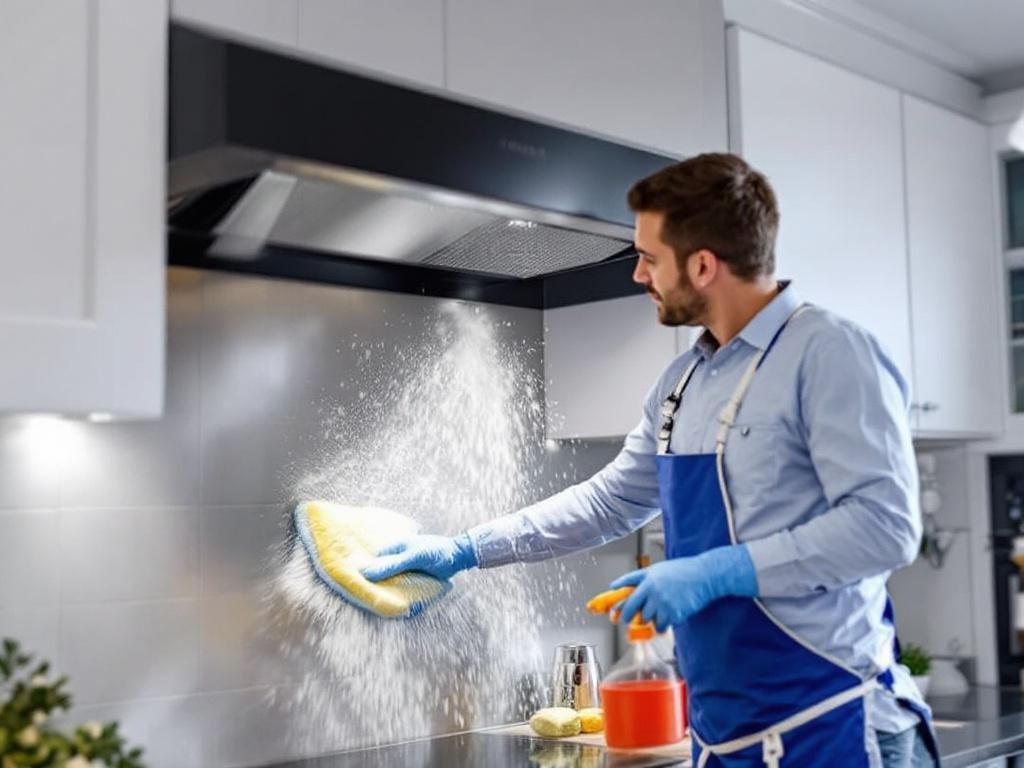
Keeping your kitchen hood clean is not merely an aesthetic requirement but also a safety measure. A clean hood ensures efficient ventilation and reduces the risk of grease fires. This comprehensive guide will help you clean your kitchen hood like a pro, using common household items.
Why Cleaning Your Hood Is Important
Kitchen hoods, also known as vent hoods or exhaust hoods, play a crucial role in maintaining the air quality in your kitchen. They help remove smoke, odors, heat, and airborne grease from your cooking area. Over time, the accumulated grease and dirt can decrease the performance of your hood, potentially leading to potential health risks and fire hazards.
Tools Needed for Cleaning Your Hood
- Microfiber Cloth
- Non-abrasive scrub brush
- Dish soap
- Baking soda
- Vinegar
- Hot water
- Spray bottle
Estimated Time and Cost
Cleaning your hood will take approximately two hours. The cost is minimal as you likely already have these cleaning supplies in your home. If you need to purchase any items, the estimated cost is around $20.
Step-by-Step Guide to Hood Cleaning
Step 1: Preparation
Before you start, ensure that the stove and the hood are switched off. Cover the stovetop with a cloth or plastic sheet to protect it from any dripping grime or cleaning solution.
Step 2: Removing Filters
Most hoods have removable filters. Check your manufacturer's manual to learn how to detach them safely. Once removed, submerge the filters in a mixture of hot water, dish soap, and baking soda. Let them soak for about 15 minutes.
Step 3: Cleaning the Hood
While the filters are soaking, you can start cleaning the hood. Mix equal parts of vinegar and water in a spray bottle. Spray the solution onto the hood and let it sit for a few minutes. Then, using a damp microfiber cloth, wipe down the hood. For stubborn grease, use a non-abrasive scrub brush.
Step 4: Rinse and Dry
After scrubbing, rinse the hood with a damp cloth. Make sure to remove all the cleaning solution. Dry the hood thoroughly using a clean, dry microfiber cloth.
Step 5: Cleaning the Filters
After the filters have soaked, scrub them clean using the non-abrasive brush. Rinse the filters under hot running water until all the soap is gone. Allow the filters to air dry before reinstalling them.
Step 6: Reassembly
Once everything is clean and dry, reassemble the hood and filters. Make sure everything is secure before switching on the hood again.
Preventive Maintenance
To minimize the need for deep cleanings, perform regular maintenance. This includes wiping down the hood after each use and cleaning the filters every month.
Additional Resources
For more information on hood cleaning and maintenance, check out these resources:
- National Fire Protection Association
- Environmental Protection Agency
- Consumer Reports
Conclusion
Regular hood cleaning is essential for maintaining a safe and efficient kitchen. With the right tools and a little bit of elbow grease, you can keep your kitchen hood clean and functioning at its best.