
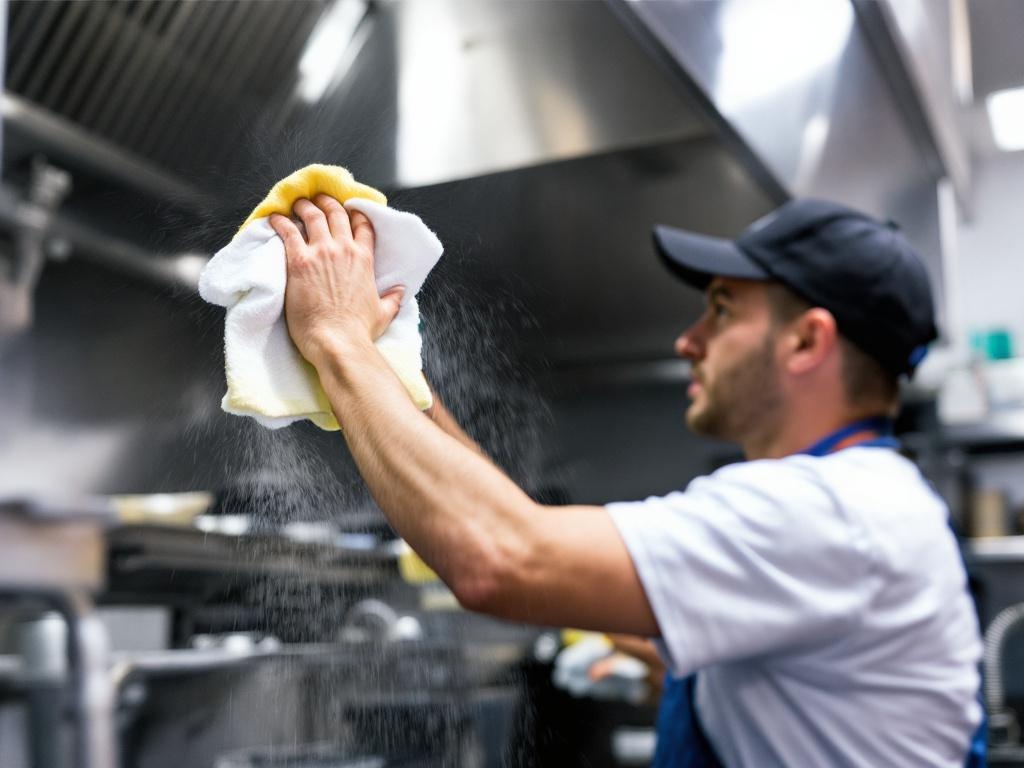
Cleaning your kitchen hood is a vital task for maintaining a clean, safe, and efficient kitchen. Over time, grease and other particles can accumulate in your exhaust hood, potentially causing unpleasant odors, reducing the efficiency of your ventilation system, and even posing a fire hazard. This detailed, practical DIY guide will explain how to clean your hood effectively and safely.
Why is Hood Cleaning Important?
Your kitchen hood plays a crucial role in removing smoke, heat, and odors from your cooking area. However, when grease and other particles build up, your hood can become less effective. Regular cleaning can help maintain your hood's performance and extend its lifespan.
Tools Needed for Hood Cleaning
- Soap/ Detergent: A good degreasing soap or detergent is essential to break down the grease and grime.
- Scrub Brush: A scrub brush will help you remove stubborn dirt and grease.
- Cloths/ Paper Towels: Use these to wipe down the surfaces and dry them off after cleaning.
- Gloves: Protect your hands from the harsh cleaning chemicals.
- Bucket: A bucket is needed to mix your cleaning solution and to catch any drips while cleaning.
- Spray Bottle: A spray bottle is useful for applying the cleaning solution to the hood.
Estimated Time and Costs
Cleaning your kitchen hood is a relatively simple process that can take up to 2 hours, depending on the level of dirt and grease. The cost of cleaning products can range between $10-$20, making this a cost-effective maintenance task.
Step by Step Guide to Hood Cleaning
Step 1: Preparing the Area
Before you start, it's important to remove any loose debris from the hood. This includes any removable filters or screens. You should also protect your work area by covering the stove and countertops with newspapers or plastic sheets.
Step 2: Preparing the Cleaning Solution
Mix your chosen degreasing soap or detergent with warm water in a bucket. The water should be hot enough to help break down the grease but not so hot that it's dangerous to handle.
Step 3: Applying the Cleaning Solution
Using a spray bottle, apply the cleaning solution to the hood. Let it sit for a few minutes to allow the solution to penetrate the grease and grime.
Step 4: Scrubbing the Hood
Using a scrub brush, scrub the hood to remove the grease and grime. For stubborn spots, you may need to apply more cleaning solution and scrub harder.
Step 5: Rinsing and Drying
Once you've scrubbed the entire hood, rinse it thoroughly with warm water. Then, dry the hood thoroughly using cloths or paper towels.
Step 6: Reassembling the Hood
Once the hood is clean and dry, reassemble any parts you removed at the start. Your hood is now clean and ready to use!
Safety Tips for Hood Cleaning
- Wear Gloves: Protect your hands from the harsh cleaning chemicals by wearing gloves.
- Use Safe Cleaning Products: Avoid using cleaning products that can be harmful if inhaled. Always follow the manufacturer's instructions.
- Be Careful with Hot Water: Hot water can help to break down grease but be careful not to burn yourself.
- Avoid Electrical Components: When cleaning, avoid getting water or cleaning solutions on any electrical components of the hood.
Conclusion
Cleaning your kitchen hood is a simple yet essential task that can help maintain the efficiency of your ventilation system, improve the air quality in your kitchen, and even prevent potential fire hazards. With this step-by-step guide, you can easily and safely clean your hood yourself.
For more detailed information on hood cleaning, check out the National Fire Protection Association.