
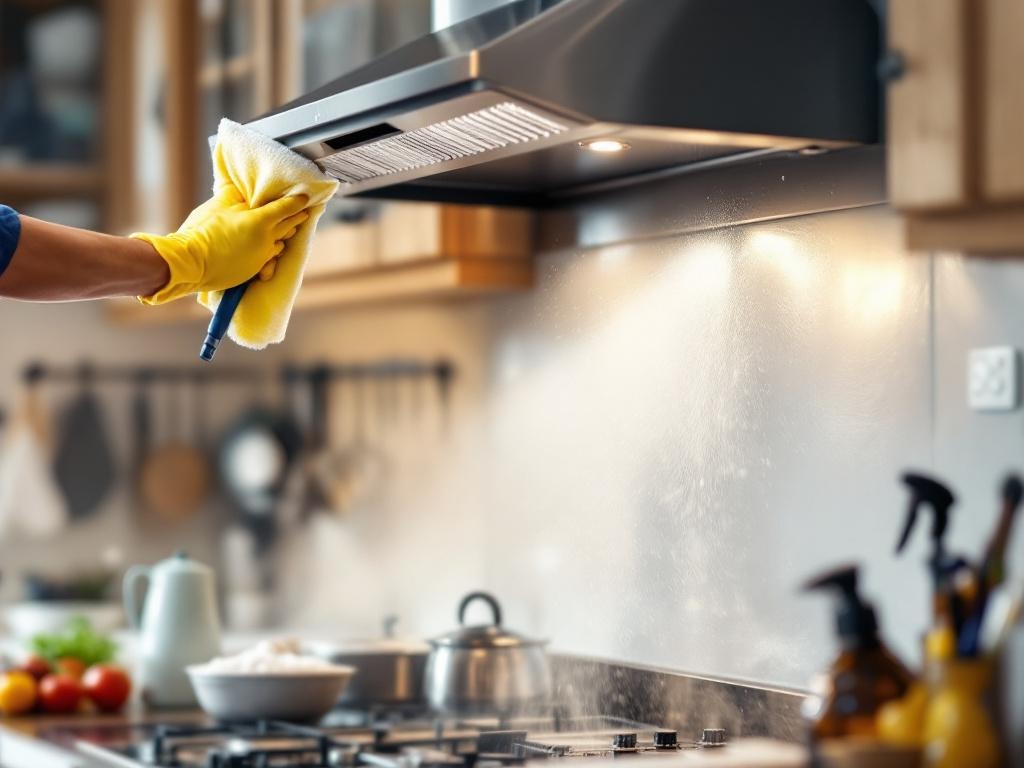
Keeping your kitchen clean is an essential aspect of maintaining a healthy home environment. One often overlooked component of this is the kitchen hood. Regular hood cleaning is crucial for preventing the build-up of grease and grime, which can lead to unpleasant odors and, in severe cases, kitchen fires. In this guide, we will provide detailed, practical instructions on how to clean your kitchen hood effectively and safely.
Why is Hood Cleaning Important?
Regularly cleaning your kitchen hood is vital for several reasons:
- It reduces the risk of kitchen fires caused by grease build-up.
- It prevents the spread of bacteria and germs, fostering a healthier environment.
- It extends the lifespan of your hood and improves its efficiency.
- It eliminates unpleasant smells caused by food particles trapped in the filter.
Materials You Will Need
- Dish Soap: A degreasing dish soap is ideal for breaking down the grease.
- Baking Soda: This natural cleaning agent helps in removing stubborn stains.
- Vinegar: Vinegar acts as a disinfectant and deodorizer.
- Cleaning Brushes: A set of cleaning brushes with stiff bristles.
- Clean Cloths: Microfiber cloths are best for drying and polishing.
- Bucket: For mixing your cleaning solution and soaking smaller parts.
Time and Cost
Estimated Time: 1-2 hours
Estimated Cost: $10 - $20 (if you need to purchase cleaning supplies)
Step-by-Step Guide to Hood Cleaning
Step 1: Preparation
Before you start, ensure your stove is switched off and cool. Remove any loose items from the cooktop. Prepare your cleaning solution by mixing equal parts of vinegar and water in a bucket.
Step 2: Remove and Soak the Filter
Remove the metal filter from the hood. Soak it in a solution of warm water and a few drops of degreasing dish soap for about 15-20 minutes. You can add baking soda to the solution for stubborn grease.
Step 3: Clean the Hood
While the filter is soaking, use a damp cloth to wipe down the exterior of the hood. For stubborn stains, make a paste of baking soda and water, apply it to the stain, let it sit for a few minutes, then scrub gently with a brush.
Step 4: Scrub and Rinse the Filter
After soaking, scrub the filter with a brush to remove the loosened grease and grime. Rinely thoroughly under warm running water and set aside to dry.
Step 5: Reassemble the Hood
Once the filter is dry, replace it in the hood. Your kitchen hood is now clean and ready for use!
Safety Tips
Always ensure your stove is switched off and cool before beginning the cleaning process. Use gloves when handling the cleaning solution to protect your skin. Always rinse the filter thoroughly to avoid soap residue, which can attract more dust and grease.
Conclusion
Kitchen hood cleaning is a simple, cost-effective task that can significantly improve your kitchen's safety and efficiency. By following this DIY guide, you can keep your kitchen hood clean and functioning at its best.