
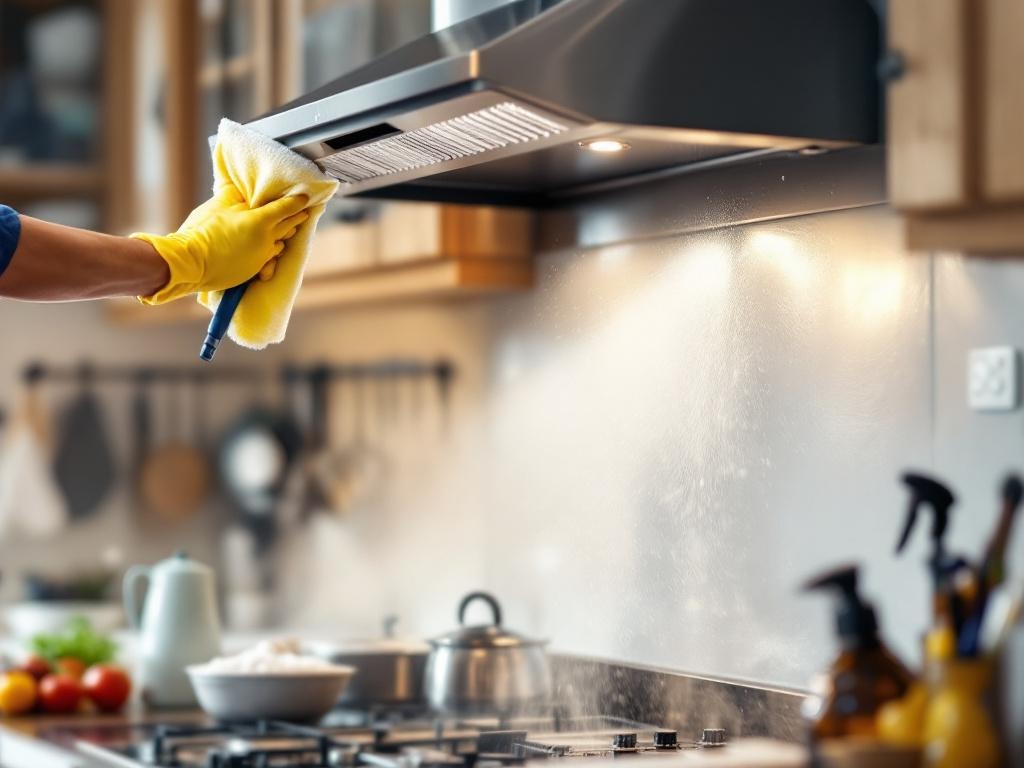
One of the most overlooked aspects of kitchen maintenance is hood cleaning. However, a clean hood is not only crucial for ensuring the proper functioning of your ventilation system but also for keeping your kitchen environment healthy and safe. This comprehensive guide will walk you through a practical, step-by-step process of hood cleaning.
Why is Hood Cleaning Important?
Regular hood cleaning is essential to remove grease and other particles that accumulate over time. These can clog up the ventilation system, reducing its efficiency, and potentially pose a fire hazard. A clean hood also helps ensure that your kitchen stays free of unpleasant odors and unhealthy air pollutants.
Tools Needed for Hood Cleaning
- Microfiber cloths
- Plastic scraper
- Dish soap
- Baking soda
- Vinegar
- Water
- Bucket
- Spray bottle
Estimated Time and Cost
The total time to complete this task can vary based on the condition of your hood. Typically, it can take anywhere between 1 to 2 hours. In terms of cost, this DIY approach requires minimal expense as the majority of the items needed are commonly found in most households.
Hood Cleaning Process
Step 1: Preparation
First, turn off the power to your hood to ensure safety. Then, remove the filters from the hood. Most filters can easily be slid or popped out of the underside of the hood.
Step 2: Filter Cleaning
Soak your filters in a mixture of warm water and dish soap. Leave them to soak for about 15 minutes. Then, gently scrub the filters using a soft brush to remove any grease or dirt. Rinse the filters thoroughly and let them dry completely before reinserting them.
Step 3: Hood Cleaning
Clean the hood using a solution of vinegar and warm water. Spray the solution onto the hood and then wipe it with a microfiber cloth. Use a plastic scraper to remove any stubborn grime or grease. Avoid using a metal scraper as it can scratch the surface.
Step 4: Deep Cleaning
If your hood is heavily soiled, a deep clean may be required. Make a paste of baking soda and water, and apply it to the hood. Let it sit for a few minutes, then scrub away the paste and the grime with a soft cloth. Rinicse with warm water and dry thoroughly.
Step 5: Reassembly
Once everything is clean and dry, replace the filters and turn the power back on.
Safety Tips
- Always turn off the power to your hood before starting the cleaning process to avoid any electrical accidents.
- Use rubber gloves to protect your hands from the cleaning solutions.
- Ensure your kitchen is well ventilated when cleaning the hood to avoid inhaling any fumes or particles.
- Never use flammable or toxic cleaning solutions for hood cleaning.
Conclusion
Regular hood cleaning is a crucial part of kitchen maintenance that can significantly improve the efficiency of your ventilation system and the overall health of your kitchen environment. By following this guide, you can easily and effectively clean your hood at a minimal cost.
For more information about hood cleaning, visit the website of the National Fire Protection Association.