
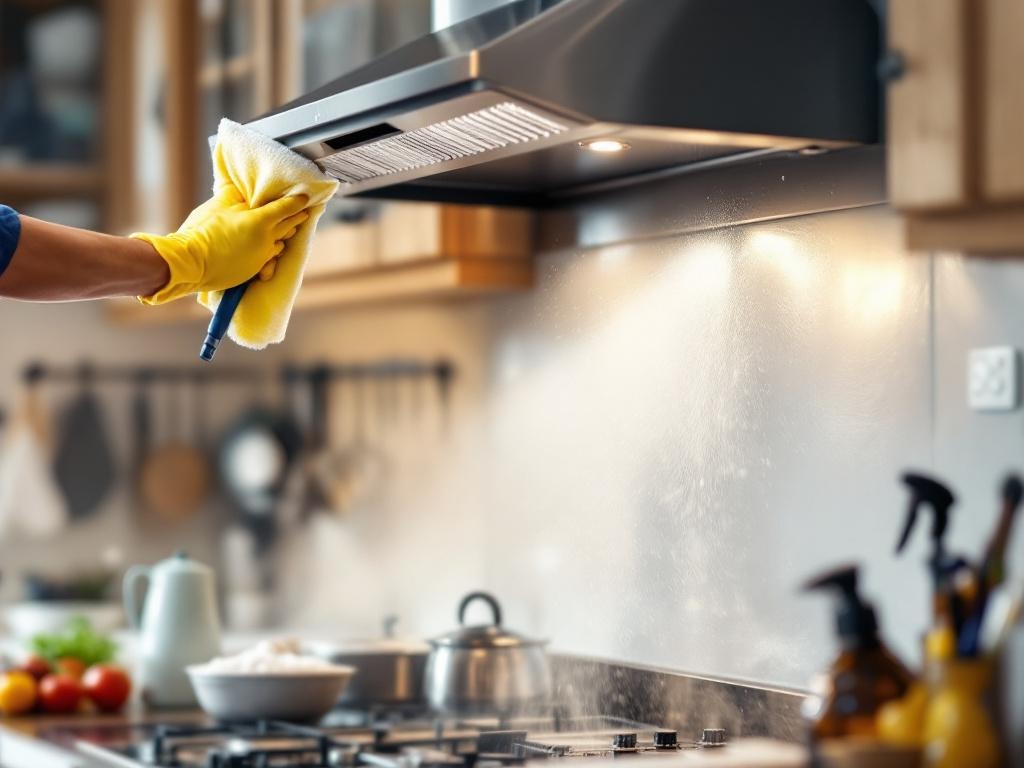
Keeping your kitchen clean and safe should be a top priority, and one of the most overlooked areas in this regard is the kitchen hood. Regularly cleaning your hood is essential to maintain a hygienic kitchen environment and prevent fire hazards. In this article, well guide you through a step-by-step process on how to clean your kitchen hood, saving you time and money on professional services.
Why is Hood Cleaning Important?
Regular hood cleaning can significantly reduce the risk of kitchen fires. A clean hood also improves the efficiency of your ventilation system, reducing energy costs and extending the lifespan of your fan. In addition, it helps keep your kitchen air clean and free from harmful pollutants and odors.
What You'll Need
- Degreaser: A commercial kitchen degreaser is most effective. You can also use a mixture of vinegar and baking soda.
- Scrub Brush: A long-handled brush will help you reach into the deeper parts of the hood.
- Microfiber Cloth: This will be used for wiping down the hood after scrubbing.
- Bucket: A large bucket filled with warm water will be used to rinse the cloth and brush.
- Protective Gloves: To protect your hands from the degreaser and grime.
Estimated Time and Cost
The process of cleaning your kitchen hood can take anywhere from 1-3 hours depending on the degree of buildup. The cost of a commercial kitchen degreaser can range from $10-$30, while a scrub brush and microfiber cloth cost around $5-$10 each.
Step-by-Step Guide to DIY Hood Cleaning
Preparation
Before starting, ensure that your kitchen is well-ventilated and that you're wearing protective gloves to avoid direct contact with the degreaser.
Step 1: Remove the Filters
The first step in cleaning your kitchen hood is to remove the filters. These can usually be easily slid or popped out of the underside of the hood. Once removed, soak the filters in a mixture of warm water and degreaser.
Step 2: Apply the Degreaser
While the filters are soaking, apply the degreaser to the interior of the hood. Allow it to sit for a few minutes to break down the grease and grime.
Step 3: Scrub the Hood
After letting the degreaser sit, use your scrub brush to thoroughly clean the inside of the hood. Start from the back and work your way forward, scrubbing in a circular motion.
Step 4: Wipe Down the Hood
Once you've scrubbed the entire hood, rinse your cloth in the bucket of warm water and start wiping down the hood. This will remove any remaining degreaser and loose grime.
Step 5: Clean the Filters
After cleaning the hood, it's time to clean the filters. Using your scrub brush, work the degreaser into the filters, then rinse them thoroughly in warm water. Once clean, allow them to dry before replacing them.
Step 6: Replace the Filters
Once the filters are completely dry, they can be replaced. Make sure they are securely in place before using the hood again.
Safety Tips
- Always use protective gloves when handling degreasers.
- Ensure the kitchen is well-ventilated to avoid inhaling fumes from the degreaser.
- Never leave the degreaser on the hood for an extended period as it can cause damage.
By following these steps, you can keep your kitchen hood clean and functioning efficiently. Regular cleaning will not only keep your kitchen smelling fresh, but it will also reduce the risk of grease fires, making your kitchen safer for you and your family. For more information on kitchen safety and cleaning tips, visit the National Fire Protection Association.