
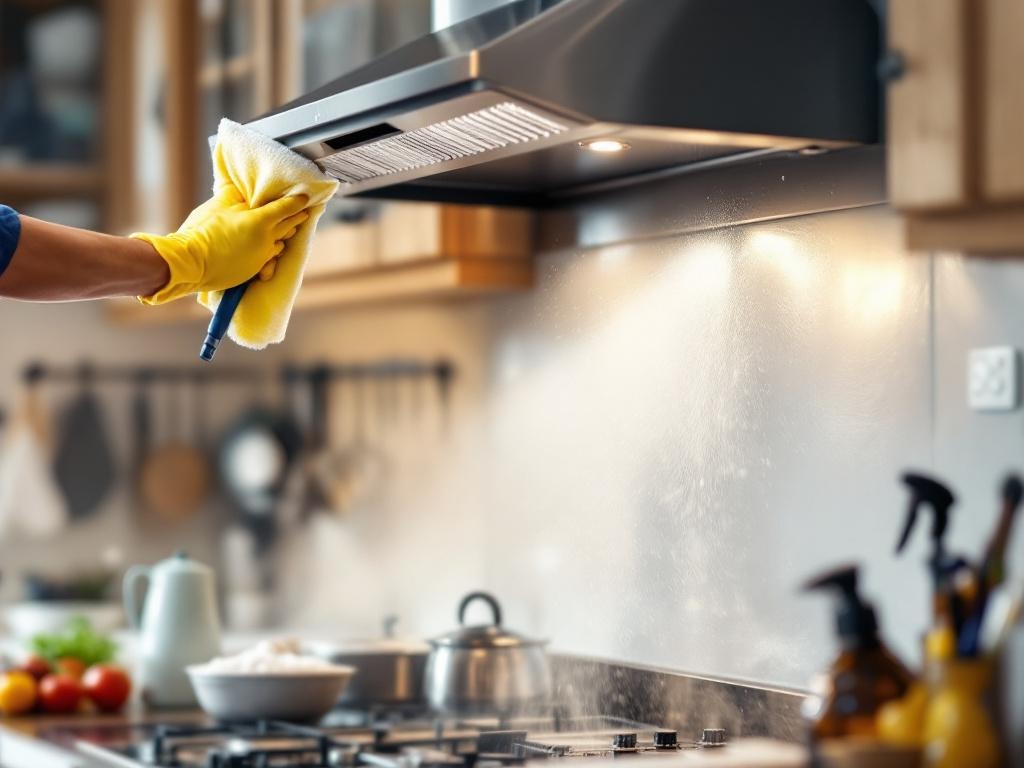
Keeping your kitchen clean and functional is crucial, and one area that often gets overlooked is the hood. Regularly cleaning your kitchen hood will not only ensure your kitchen remains clean and safe, but also extend the life of your appliance. This article will guide you through the process of cleaning your kitchen hood yourself, saving you the cost of professional services.
Why You Need to Clean Your Kitchen Hood
Regular maintenance of your kitchen hood is essential for several reasons:
- Safety: Kitchen hoods accumulate grease and grime over time. This buildup can pose a fire hazard if it gets too thick.
- Efficiency: A clean hood functions more efficiently, helping to remove smoke and odors from your kitchen more effectively.
- Lifespan: Regular cleaning can extend the life of your kitchen hood, saving you money in the long run.
What You'll Need
Before you start, make sure you have the following tools and materials:
- Dish soap or degreaser
- Warm water
- Scrub brush
- Sponge
- Microfiber cloth
- Bucket
- Screwdriver (if needed to remove hood filters)
Step-by-Step Guide to Cleaning Your Kitchen Hood
Step 1: Remove the Filters
Remove the filters from the hood. Most filters can easily be removed by sliding or popping them out. If your filters are secured with screws, use a screwdriver to remove them.
Step 2: Soak the Filters
Fill a bucket with warm water and dish soap or a degreaser. Place the filters in the bucket and let them soak for about 10-15 minutes to loosen the grease and grime.
Step 3: Scrub the Filters
After soaking, use a scrub brush to clean the filters. If there is stubborn grime, you may need to let the filters soak a bit longer. Once clean, rinse the filters thoroughly with warm water.
Step 4: Clean the Hood
While the filters are soaking, use a damp sponge to wipe down the hood. If there is tough grease, apply some degreaser or dish soap directly to the area and scrub with a brush. Wipe clean with a damp cloth.
Step 5: Dry and Replace the Filters
Once the filters are clean, let them dry completely before replacing them in the hood. This prevents moisture from causing damage or mold growth.
Estimated Time and Cost
The estimated time for this DIY hood cleaning is about 1-2 hours, depending on the level of grime. As for the cost, it's minimal - you likely already have all the necessary items at home. If you need to buy a degreaser, the price will vary, but generally, it's an affordable product.
Safety Tips
- Always wear gloves to protect your hands.
- Ensure your hood is switched off before you start cleaning.
- Take care not to scratch your hood when scrubbing.
- Make sure the filters are completely dry before re-installing them.
Conclusion
Cleaning your kitchen hood is a crucial part of maintaining a safe and efficient kitchen. With this guide, you can easily clean your hood yourself, ensuring a healthier, safer cooking environment. Remember, regular maintenance will extend the lifespan of your kitchen hood, saving you money in the long run.
For more information on hood cleaning, check out this detailed guide on Good Housekeeping.