
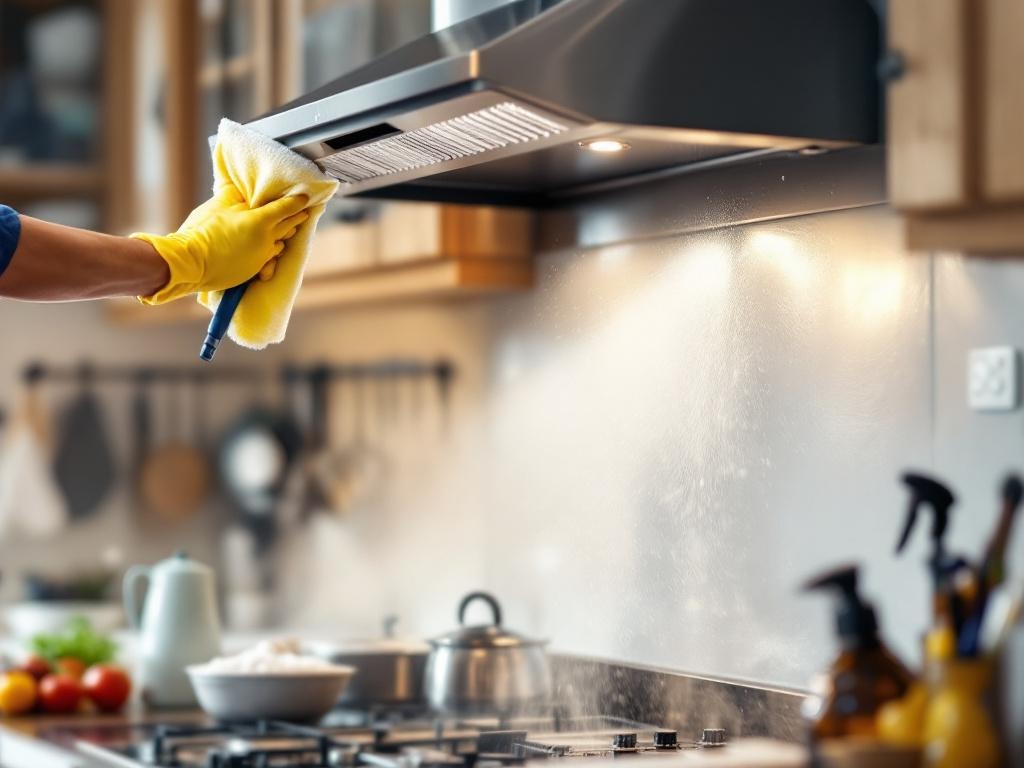
Regular hood cleaning is a critical maintenance task that helps ensure a safe and efficient kitchen. Over time, grease and other residues can build up in your hood, increasing the risk of fire and reducing its performance. This article will guide you step-by-step on how to clean your hood effectively and safely.
Why Hood Cleaning is Important
Cleaning your hood isnt just about aesthetics or keeping your kitchen smelling fresh. There are significant safety and efficiency reasons to keep your hood clean. Grease build-up can become a fire hazard, and a dirty hood can decrease its performance, causing it to work harder to clear smoke and odors from your kitchen. Regularly cleaning your hood can extend its lifespan and save you money in the long run.
When to Clean Your Hood
It's recommended to clean your hood filter every one to three months, depending on how frequently you cook. However, if you notice a decrease in performance, increased smoke or smells, or visible grease build-up, it may be time to clean your hood.
Tools Needed for Hood Cleaning
- Cleaning gloves
- Dish soap or a degreaser
- Non-abrasive scrub brush
- Bucket
- Hot water
- Dry towel
Estimated Time and Costs
Cleaning your hood should take an hour or two, depending on the level of dirtiness. As for costs, if you already have the necessary cleaning supplies at home, this task can be accomplished for free. If not, expect to spend around $10 to $20 on cleaning supplies.
Steps to Clean Your Hood
Step 1: Remove the Filter
Before you start cleaning, ensure that the range hood is turned off and disconnected from power. Carefully remove the filter from the hood. Most hoods have a metal filter that can be easily taken out by sliding or popping it off.
Step 2: Soak the Filter
Fill a bucket or sink with hot water and dish soap or a degreaser. Place the filter into the solution and let it soak for about 10-15 minutes. This will help loosen the grease and grime.
Step 3: Scrub the Filter
After soaking, use a non-abrasive scrub brush to remove the dirt and grease from the filter. Be sure to scrub both sides of the filter thoroughly.
Step 4: Rinse and Dry
Rinse the filter thoroughly with hot water to remove any soap or loosened grease. Then, dry the filter completely with a towel before reinstalling it.
Step 5: Clean the Hood
While the filter is out, its a good opportunity to clean the interior of the hood. Use a damp cloth and the same soap or degreaser solution to wipe down the inside of the hood.
Step 6: Reinstall the Filter
Once the filter is completely dry, reinstall it back into the hood. Ensure that it is securely in place.
Safety Tips
- Always disconnect the power to the hood before cleaning to prevent any electrical accidents.
- Use gloves when cleaning to protect your hands from the grease and cleaning chemicals.
- Never use abrasive cleaners or scrubbers as they can damage the filter.
Conclusion
Cleaning your hood is a simple yet important task that can greatly improve your kitchen's safety and efficiency. By following the steps outlined in this guide, you can effectively clean your hood and extend its lifespan.