
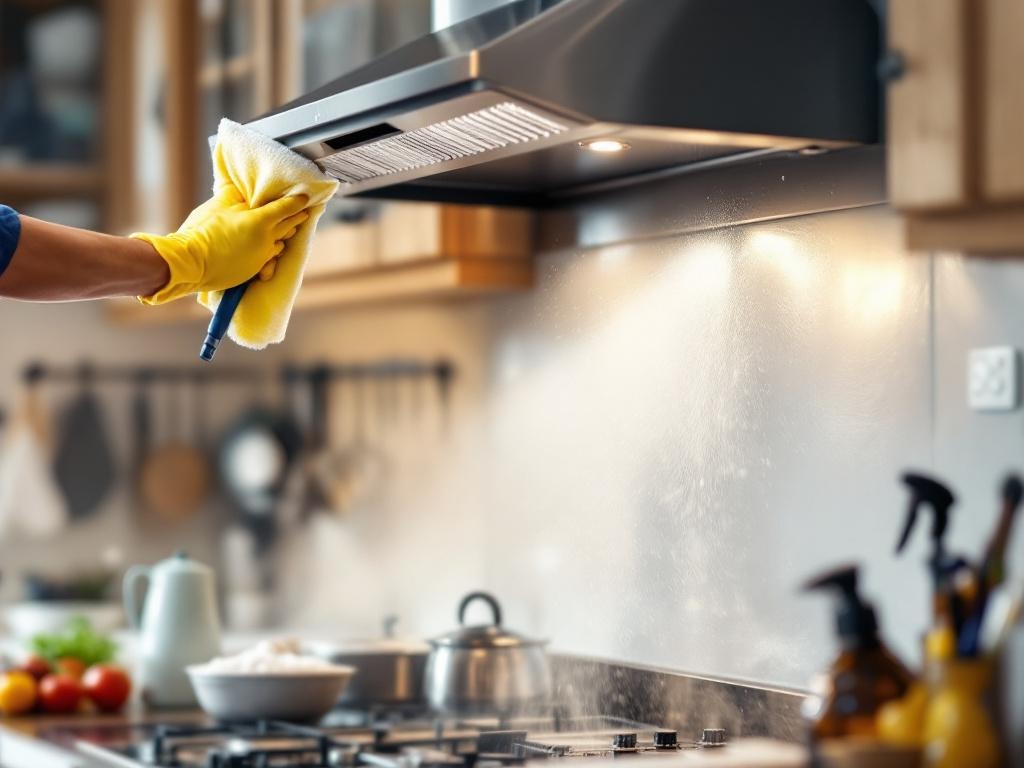
Cleaning your hood is not just a task for cleanliness, but also an essential safety measure. A clean hood reduces the risk of kitchen fires and improves the efficiency of your cooking appliances. This comprehensive guide will walk you through the process of hood cleaning in a detailed, DIY-friendly manner.
Why Clean Your Hood?
Grease and grime accumulation in your hood can pose a significant fire hazard. Over time, the build-up can clog the filters and affect the performance of the exhaust fan. This guide will help you maintain a clean, safe, and efficient kitchen environment.
Tools Needed for Hood Cleaning
- Bucket
- Sponge or scrub brush
- Non-abrasive cleaner
- Microfiber cloths
- Hot water
- Screwdriver
Estimated Time and Costs
The total time required for hood cleaning can vary depending on the condition and size of your hood. However, on average, you should expect to spend about 1-2 hours on this task. The only costs involved are the cleaning supplies, which are typically under $20.
Step-by-Step Guide to Hood Cleaning
Step 1: Preparation
Before you begin, ensure your stove or cooktop is switched off and cool to the touch. Remove any pots, pans, or other items from the area to avoid any damages or accidents.
Step 2: Remove Filters
Most hoods have metal filters that can be easily removed. Use your screwdriver to remove these filters. Be careful not to damage them as they are essential for the hood's functionality.
Step 3: Soak Filters
Fill your bucket with hot water and a generous amount of your non-abrasive cleaner. Soak the filters in this solution for about 15-20 minutes. This will help dissolve the grease and grime.
Step 4: Clean the Exterior and Interior of the Hood
While the filters are soaking, use a damp sponge or scrub brush with your cleaner to wipe down the exterior and interior of the hood. Pay special attention to areas with heavy grease accumulation.
Step 5: Scrub and Rinse Filters
After soaking, use a scrub brush to remove any remaining grease or grime from the filters. Rinse them thoroughly under hot water.
Step 6: Dry and Reinstall Filters
Once the filters are clean, dry them thoroughly before reinstalling them. Wet filters can attract more dust and dirt, leading to quicker build-up.
Safety Tips
- Always make sure your stove or cooktop is switched off and cool before cleaning the hood.
- Be careful not to scratch or damage the filters when removing and cleaning them.
- Ensure the filters are dry before reinstalling them to prevent dust and dirt accumulation.
Conclusion
Cleaning your hood regularly can prevent grease build-up, improve the efficiency of your appliances, and reduce the risk of kitchen fires. With the right tools and this step-by-step guide, you can easily clean your hood and maintain a safe, clean kitchen environment.
External Resources
For more information on hood cleaning and maintenance, check out these resources: