
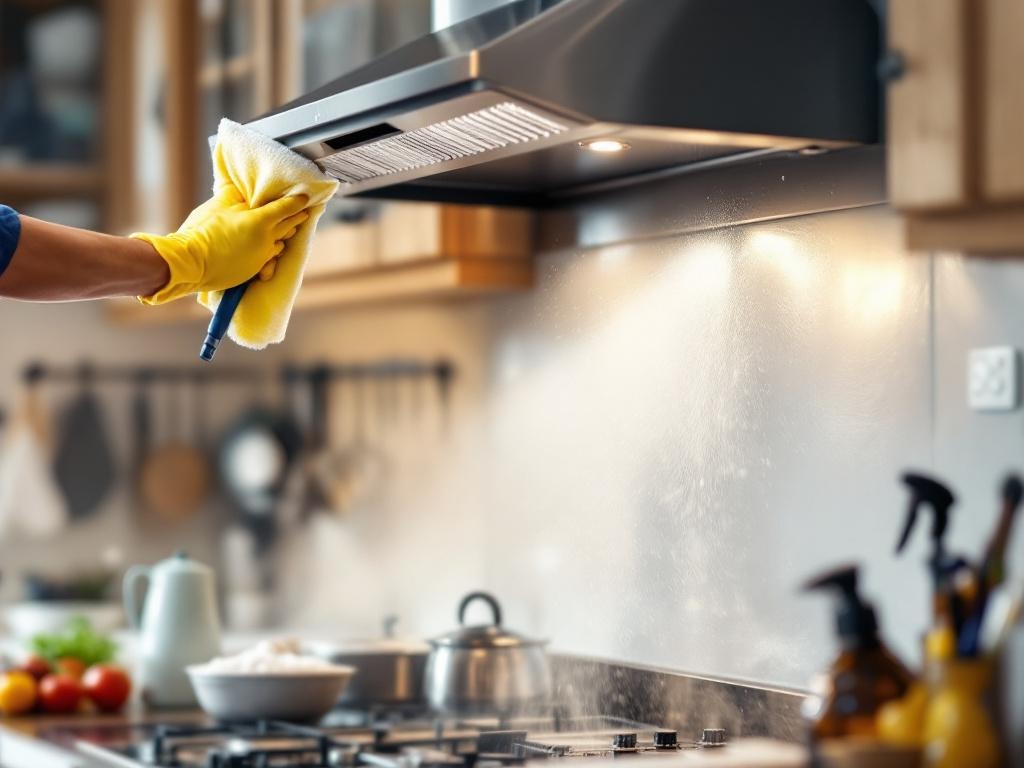
Keeping your kitchen hood clean is essential for your safety and the efficiency of your cooking appliances. While hiring a professional is an option, you can also undertake this task yourself. This guide will walk you through the steps necessary to clean your kitchen hood effectively.
Why is Hood Cleaning Important?
Hood cleaning is essential for several reasons:
- Prevents the buildup of grease which can pose a fire hazard.
- Ensures your kitchen appliances are working efficiently.
- Helps maintain the quality of indoor air by reducing smoke and odors.
- Compliance with health and safety regulations.
Tools Needed for Hood Cleaning
Before you begin, gather the necessary tools and materials. Here's what you'll need:
- Screwdriver
- Non-abrasive scrub brush
- Quality degreaser
- Microfiber cloth
- Bucket
- Warm water
- Rubber gloves
Estimated Time and Cost
Cleaning your kitchen hood should take approximately 2 to 3 hours. The estimated cost for this DIY project is around $20 to $40, depending on the cleaning materials you already have at home. This is significantly cheaper than hiring a professional service, which often costs upwards of $100.
Step by Step Guide to Hood Cleaning
Step 1: Safety First
Ensure your safety before starting by turning off the power to your hood. Additionally, put on your rubber gloves to protect your hands from the cleaning solution.
Step 2: Remove the Filters
Using your screwdriver, remove the filters from your hood. These will be cleaned separately.
Step 3: Apply the Degreaser
Apply your chosen degreaser to the hood, ensuring all areas are covered. Let it sit for a few minutes to break down the grease. Note: Always follow the manufacturer's instructions when using a degreaser.
Step 4: Scrub the Hood
After the degreaser has had time to work, scrub the hood using your non-abrasive brush. This should remove any remaining grease and grime.
Step 5: Rinse and Dry
Rinse off the degreaser using warm water. Once all the degreaser and loosened grease is removed, dry the hood thoroughly with a microfiber cloth.
Step 6: Clean the Filters
Apply degreaser to the filters and allow it to sit for a few minutes. Then, scrub the filters, rinse them with warm water, and let them dry completely before reassembling.
Maintenance and Prevention
To keep your hood clean and functioning properly, regular maintenance is key. Here are some tips:
- Clean your hood and filters at least once every three months.
- Wipe down the hood after heavy cooking sessions to prevent grease buildup.
- Replace the filters as recommended by the manufacturer.
Additional Resources
For additional information on hood cleaning and maintenance, check out these resources:
National Fire Protection Association (NFPA) Environmental Protection Agency (EPA)Remember, a clean kitchen hood is vital for the safety and efficiency of your kitchen. With regular maintenance and cleaning, you can keep your kitchen hood in top shape for years to come.