
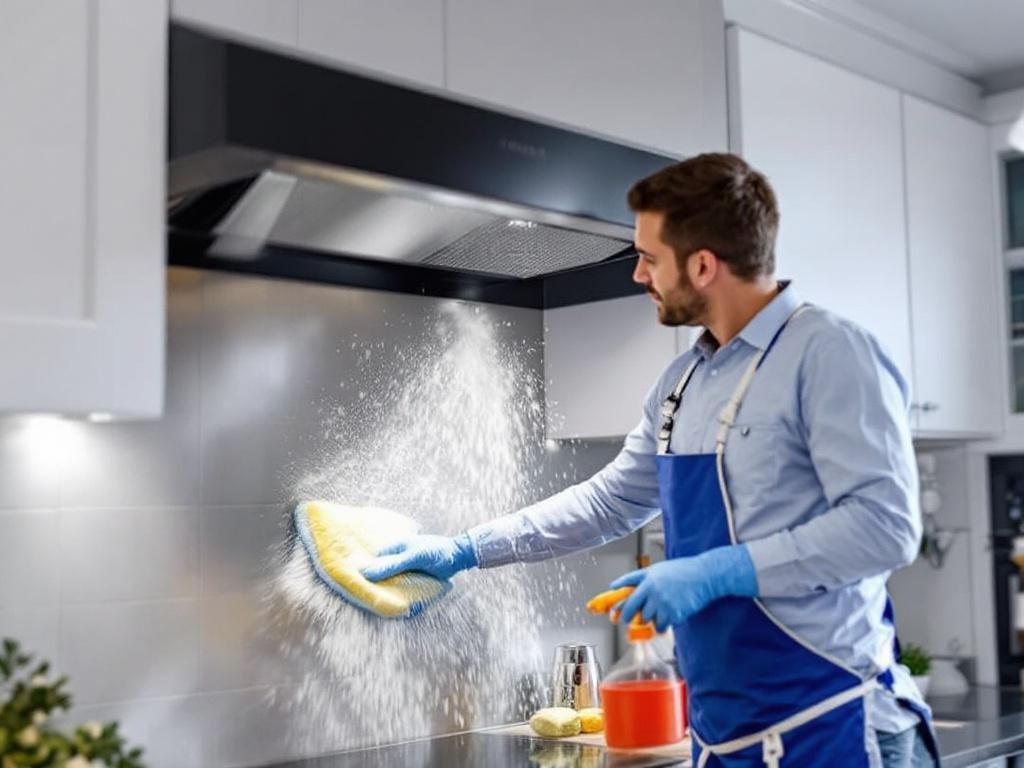
Cleaning your kitchen hood is an often overlooked but vital part of maintaining your home. A clean vent hood prevents the buildup of grease and reduces the risk of kitchen fires. This guide will walk you through the process of cleaning your kitchen hood in a practical, easy-to-follow manner, without the need for any professional help.
Why Hood Cleaning is Important
A clean kitchen hood does more than just enhance your kitchen's aesthetic appeal. It also:
- Improves air circulation: A clean hood ensures that smoke, heat, and odors are effectively removed from your kitchen.
- Prevents grease buildup: Regular hood cleaning prevents the accumulation of grease, which can cause fires.
- Enhances efficiency: Clean hoods operate more efficiently, leading to energy savings.
Tools You Will Need
Before starting the hood cleaning process, ensure you have the following tools:
- Microfiber cloths
- Dish soap
- Baking soda
- Vinegar
- Soft brush
- Spray bottle
- Bucket
Estimated Time and Cost
Cleaning your kitchen hood should take approximately 2-3 hours, depending on its size and the level of grease buildup. The cost of cleaning materials is typically less than $20, making this a cost-effective solution.
Step-by-step Guide to Cleaning Your Kitchen Hood
Step 1: Preparation
Before starting, ensure you have all the necessary tools. Clear your kitchen counter and cover it with a cloth or newspaper to prevent grease stains. Also, make sure your hood is switched off before you start cleaning.
Step 2: Remove Filters
Filters are usually secured with clips. Carefully remove them and soak in warm soapy water for about 15 minutes. This will help loosen the grease and grime.
Step 3: Clean the Filters
After soaking, use a soft brush to gently scrub off any remaining dirt from the filters. Rinse them thoroughly and leave them to dry while you clean the hood.
Step 4: Clean the Hood
Mix equal parts vinegar and water in a spray bottle. Spray the solution onto the hood and leave it for a few minutes to break down the grease. Then, use a microfiber cloth to wipe it down. For stubborn stains, make a paste of baking soda and water, apply it to the stain, let it sit for a few minutes, then scrub off with the cloth.
Step 5: Reinstall the Filters
Once the filters are completely dry, reinstall them back into the hood. Ensure they are securely fitted.
Additional Tips
- Cleaning your kitchen hood once every three months can help maintain its efficiency and prolong its lifespan.
- Always wear rubber gloves when cleaning your hood to protect your hands from the harsh cleaning chemicals.
- If your hood uses charcoal filters, these cannot be cleaned and must be replaced every 6-12 months.
Conclusion
Cleaning your kitchen hood is a simple yet effective way to improve your kitchen's air quality and safety. Regular cleaning can also help you save on energy bills and costly repairs in the long run. With this guide, you can easily clean your kitchen hood yourself, without the need for professional help.
For more information on hood cleaning, check out this resource from the Environmental Protection Agency.