
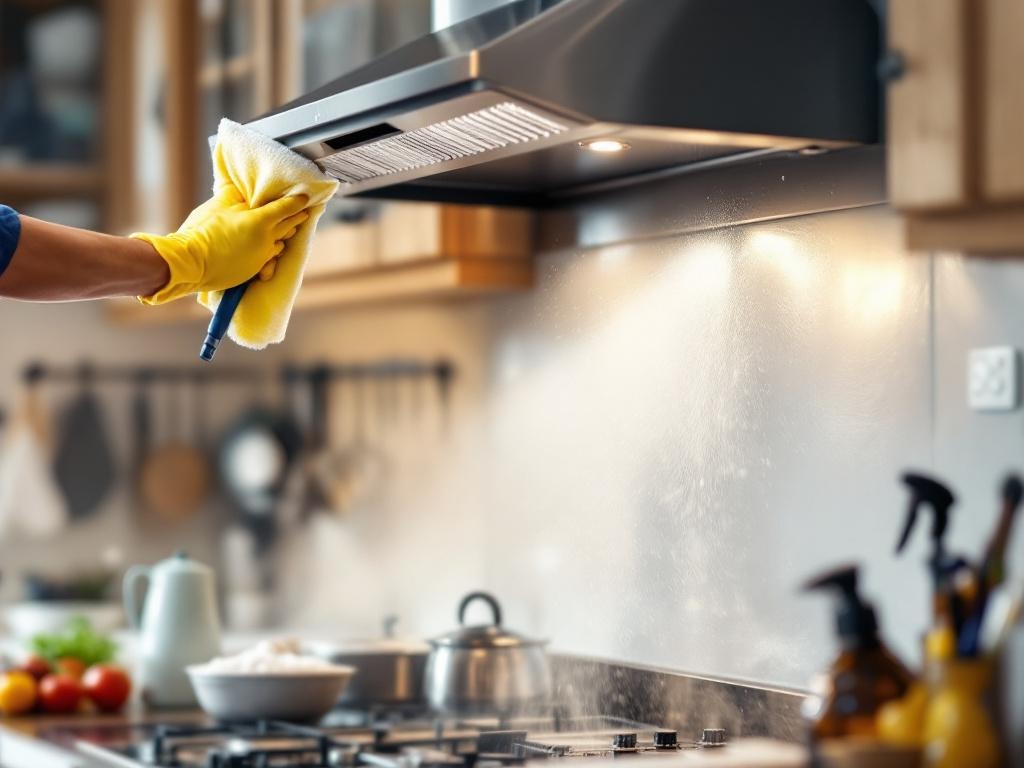
Cleaning your kitchen hood is one of those often overlooked tasks that can make a significant difference in maintaining a clean and healthy kitchen environment. This step-by-step guide will walk you through the process of doing it yourself, saving you money and improving your kitchen's air quality.
Why Hood Cleaning is Important
Cooking can release grease, smoke, and other pollutants, which are sucked up by your kitchen hood. Over time, this can lead to a buildup of grime, which can affect your hood's performance and create a fire hazard. Regular cleaning can prevent these issues and keep your kitchen running smoothly.
What You'll Need
- Dish soap: This will be used to break down the grease.
- Baking soda: This acts as a natural deodorizer and cleanser.
- Vinegar: Another natural cleaner, vinegar can help to dissolve stubborn grime.
- Scrub brush: A sturdy brush will help you remove the buildup.
- Microfiber cloth: This will be used to dry the hood after cleaning.
Estimated Time and Costs
This task should take around two hours to complete. The cost will depend on whether you already have the necessary cleaning supplies at home. If you need to buy everything, it will likely cost between $10 and $20.
Step-by-Step Guide to Hood Cleaning
Step 1: Initial Cleaning
Start by removing the filters from the hood. In most cases, these can be easily slid or popped out. Once removed, soak them in a solution of warm water and dish soap. While they're soaking, use a damp cloth to wipe down the exterior of the hood.
Step 2: Scrubbing
After the filters have soaked for about 15 minutes, use a scrub brush to remove any stuck-on grime. If there are still stubborn spots, create a paste of baking soda and water and apply it to the area. Let it sit for a few minutes, then scrub again.
Step 3: Rinse and Dry
Once you've scrubbed the filters clean, rinse them thoroughly under warm water. Make sure all the soap and baking soda have been rinsed away. After rinsing, dry the filters thoroughly with a microfiber cloth.
Step 4: Cleaning the Hood
While the filters are drying, turn your attention to the hood itself. Create a cleaning solution of equal parts vinegar and water. Apply this solution to the interior of the hood and scrub with your brush. Once clean, dry it with another microfiber cloth.
Step 5: Reassemble
Once everything is dry, you can reassemble the hood. Replace the filters and ensure they're securely in place. Your hood is now clean and ready for use!
Safety Tips
- Always unplug the hood or turn off the power at the breaker before beginning.
- Avoid using harsh chemicals that could damage the hood or be harmful if inhaled.
- If the buildup is extensive, it may be best to hire a professional. Grease can be flammable, and a deep buildup can pose a fire risk.
Additional Resources
For more information on maintaining your kitchen, check out these resources: