
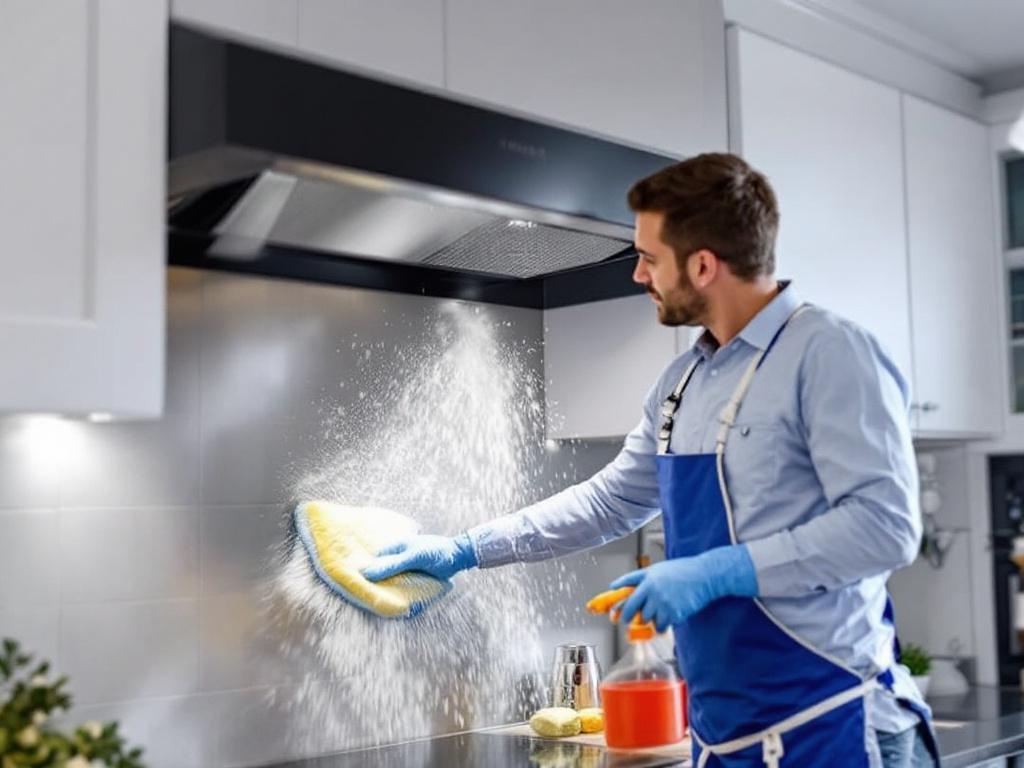
A Comprehensive DIY Guide to Hood Cleaning
A Comprehensive DIY Guide to Hood Cleaning
Keeping your kitchen clean is essential not only for aesthetic reasons but also for your family's health and safety. A part of the kitchen that often gets overlooked is the cooker hood. In this article, we will guide you through a comprehensive, practical DIY hood cleaning process.
Why is Hood Cleaning Important?
Cleaning your kitchen hood is important for several reasons:
- Prevent Fire Hazards: Grease and grime that accumulate can pose a fire risk.
- Maintain Air Quality: A clean hood improves ventilation, reducing harmful particles in the air.
- Enhance Performance: Regular cleaning enhances the efficiency of your hood.
- Longevity: Regular maintenance can extend the lifespan of your kitchen hood.
What You Will Need
Before you start, make sure you have the following tools and materials:
- Dish detergent
- Baking soda
- Vinegar
- Non-abrasive scrub brush
- Microfiber cloth
- Sponge
- Bucket
- Rubber gloves
Estimated Time and Cost
The cleaning process should take approximately 2 to 3 hours. The cost is minimal as you probably already have most of the cleaning materials at home. If you need to buy anything, a budget of $20 should cover it.
Step-by-Step Hood Cleaning Process
Step 1: Preparation
Note: Before starting, ensure that your stove and hood are switched off and cool to the touch. Remove any loose items from the stove area.
Step 2: Remove The Filters
Most kitchen hoods have removable metal filters. To remove, slide or pop out the filters. Check your manufacturer's instructions if you're having difficulty.
Step 3: Soak The Filters
Fill your sink or bucket with warm water. Add a few drops of dish soap and a quarter cup of baking soda. Place the filters in the solution and let them soak for about 15 minutes.
Step 4: Scrub The Filters
After soaking, use a non-abrasive scrub brush to remove the grime from the filters. Rinse with warm water and let them dry completely before reassembly.
Step 5: Clean The Hood
While the filters are soaking, tackle the hood. Mix vinegar and baking soda to make a paste. Apply the paste to the hood and scrub with a sponge or microfiber cloth. Wipe clean with a damp cloth.
Step 6: Reassemble The Hood
Once the filters are completely dry, reinsert them back into the hood. Your kitchen hood is now clean and ready to use!
Safety Tips
- Always wear rubber gloves to protect your hands from the cleaning solution and grime.
- Never use abrasive cleaners or brushes as they can scratch and damage the hood.
- Ensure the stove and hood are switched off before you start cleaning.
- Never immerse the motor or electrical parts in water.
Additional Resources
For more tips on kitchen cleaning and maintenance, check out these resources: